
Lawn
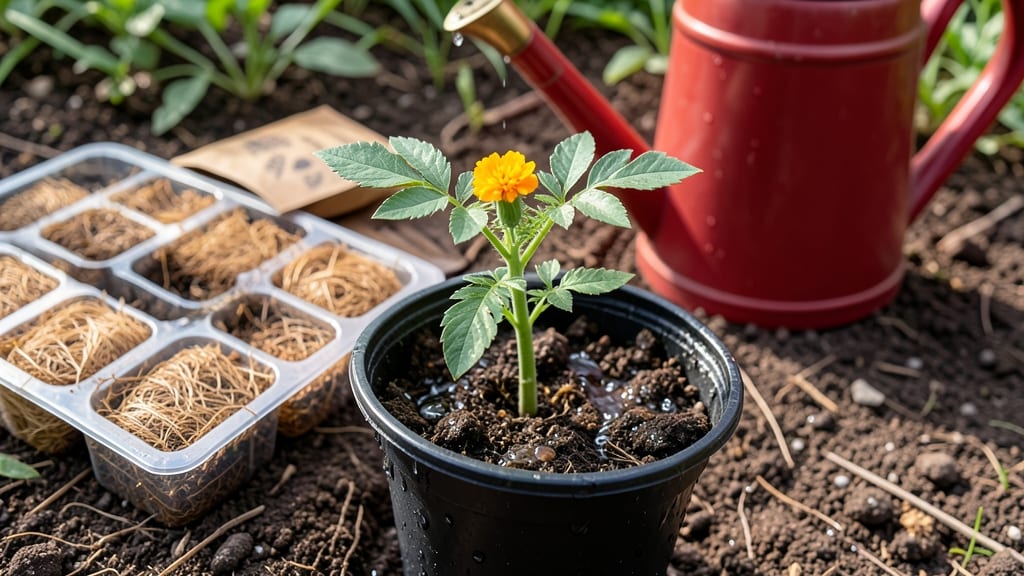
Perfect germination starts with soil, seed, and water working together—not separately. 🌱 I’ve seen seeds sprout in days when the conditions are just right, and I’ve watched them rot in weeks when one element was off.
The secret isn’t complicated, but it is precise: soil that breathes, seeds that wake up, and water that nourishes without drowning.
First, the soil: it needs to be loose, crumbly, and packed with organic matter—think one-third compost mixed into your garden bed or potting mix. Seeds need good contact with soil but not so deep they suffocate. Then comes water, but here’s the catch: it’s not about drowning the seeds.
A gentle mist keeps moisture consistent, like a damp sponge, not a soggy mess. Too much water? Seeds rot. Too little? They dry out before sprouting.
When you nail this trio, you’ll see those first tiny green hooks break through the soil in 5-14 days, depending on the plant. The roots anchor, the stem stretches, and suddenly, you’ve got a thriving seedling instead of a failed experiment.
The key is patience—check moisture daily with your finger, not your watering can.
This method works for vegetables, flowers, and herbs, whether you’re sowing in spring or fall. The same principles apply to containers, raised beds, or in-ground planting. Once you master these three layers, germination becomes predictable—and that’s when the real magic starts.
📚 In This Guide
- What you need
- Instructions
- Tips and common mistakes
- Wrapping up and next steps
What you need
- ● Seeds: Choose high-quality, fresh grass seed (e.g., Kentucky Bluegrass, Fescue, or Ryegrass). Quantity: ~10–15 lbs per 1,000 sq ft (adjust based on seed type).
- ● Topsoil: Well-draining, loamy soil (pH 6.0–7.5). Quantity: ~1–2 inches for seeding.
- ● Water: Access to a hose, sprinkler, or watering can with a fine mist setting.
- ● Starter Fertilizer: Low-nitrogen, high-phosphorus blend (e.g., 5-10-10 ratio). Quantity: ~1 lb per 100 sq ft.
- ● Rake: A stiff-bristle garden rake for leveling soil and covering seeds.
- ○ Leveling Tool: A lawn roller (optional but helpful for compacting soil lightly).
- ● Soil Test Kit: To check pH and nutrient levels before seeding.
- ● Seed Mat or Erosion Control Blanket: For slopes or windy areas to protect seeds.
- ● Mulch (Straw or Peat Moss): Light layer (¼ inch) to retain moisture.
- ● Spreader: Broadcast or drop spreader for even seed distribution.
- ● Weather Forecast App: To track rain and plan watering schedules.
How to master germination through precision moisture layering
Germination isn't just about soil and water—it's about creating the perfect moisture gradient that seeds crave.
🌱 Step 1: Prepare Soil with Ideal Moisture Architecture
Start with a seed-starting mix that's 70% moisture by volume—not soggy, not bone-dry, but holding water like a well-wrung sponge. I like to mix 60% peat moss, 30% perlite, and 10% worm castings to create air pockets that prevent compaction while retaining just enough water. Fill your containers to 1 inch below the rim and press gently to eliminate air gaps.
Here's the trick: water the soil until it's evenly moist to 2 inches deep, then let it sit for 10 minutes so excess water drains while the surface stays damp. You'll know it's right when a handful of soil leaves a faint damp print when squeezed—not dripping wet, not powder-dry. This layered moisture mimics natural forest floor conditions where seeds germinate reliably.
💧 Step 2: Sow Seeds with Strategic Water Placement
Plant seeds at their proper depth—twice their diameter—using your finger to make small indentations. The key to moisture success is placing seeds in the moistest layer of your prepared soil, about ¼ inch below the surface. I like to dip each seed in a bit of room-temperature water before planting to jumpstart hydration through the seed coat.
After sowing, use a fine mist spray bottle to add just enough water to settle the seeds without disturbing them. You're not trying to soak the soil again—just ensure the seeds make contact with that perfect moisture layer. Watch for condensation forming on the soil surface; if it beads up, you've added too much water and need to let it evaporate slightly before covering.
☀️ Step 4: Maintain Consistent Moisture Through Germination
Cover your containers with clear plastic domes or plastic wrap to trap humidity, creating a mini greenhouse effect. Place them in a location with 65-75°F temperatures—a seedling heat mat helps maintain this range if your home runs cooler. The goal is to keep the soil surface evenly moist but not saturated throughout germination.
Check moisture daily by pressing your finger ½ inch into the soil. If it feels dry at that depth, mist lightly again. If it's still damp, wait another day. Overwatering at this stage causes anaerobic conditions that suffocate seeds before they sprout. You'll see the first signs of success when tiny root hairs appear at the seed's base—this means the moisture layer is working perfectly.
⏰ Step 5: Transition to Balanced Moisture After Sprouting
Once seedlings emerge, remove the humidity dome immediately to prevent fungal growth. Now you'll maintain moisture by watering from the bottom: place containers in ½ inch of water for 10-15 minutes, then drain completely. This encourages strong root development downward while preventing surface moisture that causes damping-off.
Water when the top inch of soil feels dry to touch, but don't let the soil dry out completely between waterings. You'll notice healthy seedlings have bright green cotyledons** that stand upright—this is your sign the moisture balance is perfect. If leaves yellow or wilt, you're either overwatering or underwatering; adjust immediately to maintain that critical equilibrium.
Tips & tricks for perfect germination through moisture mastery
Between us, the difference between thriving seedlings and failed sprouts often comes down to these moisture secrets—trust me, I've seen both sides.
Soil Composition Matters: The 60-30-10 ratio of peat moss, perlite, and worm castings creates the perfect air-water balance. If you're short on worm castings, compost works too—but avoid fresh manure, which can burn tender seedlings. The perlite is non-negotiable; it prevents compaction that suffocates roots. I've ruined batches by skipping this step, so don't make my mistake.
Temperature Control: Those 65-75°F temperatures are critical—any lower and germination slows dramatically, any higher and you risk drying out the surface. I use a seedling heat mat set to 70°F for the first 48 hours, then adjust based on room conditions. A simple trick: place your containers on a towel over a warm (not hot) radiator if you don't have a heat mat.
Visual Moisture Cues: The "faint damp print" test is your best friend—it's how you verify that 70% moisture without guesswork. For the 10-minute drainage period after initial watering, set a timer and resist the urge to check early. Patience here prevents waterlogging, which causes seed rot. You'll know you've nailed it when condensation forms on the inside of your humidity dome but doesn't drip back into the soil.
Emergency Rescue Strategy: If your seeds haven't sprouted after 7 days at 75°F, don't give up—try the "warm water soak" trick. Place your entire container in a shallow tray of warm (not hot) water for exactly 10 minutes, then drain completely. This jumpstarts dormant seeds by mimicking natural spring rains. I've revived what seemed like failed batches using this method.
Pro Tips for Soil Seed And Water
- Between us, the difference between thriving seedlings and failed sprouts often comes down to these moisture secrets—t...
- Soil Composition Matters: The 60-30-10 ratio of peat moss, perlite, and worm castings creates the perfect air-water b...
- Temperature Control: Those 65-75°F temperatures are critical—any lower and germination slows dramatically, any higher...
Frequently asked questions
Got questions about optimizing soil, seed, and water for germination?
You’re not alone! Here are answers to the most common queries—so you can grow a thriving lawn with confidence.
What’s the best soil-to-seed ratio for germination?
For most grass seeds, aim for a 1:4 ratio (1 part seed to 4 parts soil) when mixing. Lightly cover seeds with ¼ inch of soil—enough to protect them from birds but not so deep they suffocate. Fine-textured soils (like loam) work best, but amend sandy or clay-heavy soil with compost for better moisture retention.
How often should I water newly planted seeds?
Keep the soil consistently moist (not soggy!) by watering lightly 2–3 times daily for the first 7–10 days. Use a mist or spray nozzle to avoid displacing seeds. Once sprouts appear, reduce to 1–2 times daily and gradually taper off as roots establish (usually 2–3 weeks).
Why aren’t my seeds germinating? Troubleshooting tips
Seeds may fail to sprout due to:
- Too much water: Causes rot or fungal growth. Let the top inch of soil dry slightly between waterings.
- Inconsistent moisture: Seeds need steady dampness—think of a wrung-out sponge.
- Wrong soil temp: Most grass seeds need 60–75°F soil. Test with a thermometer or wait for warmer days.
- Old or low-quality seeds: Store seeds in a cool, dry place and use them within 1–2 years for best results.
Can I reuse leftover seed from a failed germination?
Yes! Store unused seeds in a paper envelope or airtight container with a desiccant packet in a cool, dark place. Label with the date—most seeds stay viable for 1–2 years (check the packet for specifics). For best results, plant them as soon as possible in fresh soil.
Are there alternatives to traditional soil for germination?
Try these low-waste, high-success options:
- Coconut coir: Retains moisture well and reduces fungal risk.
- Peat moss + perlite mix: Improves aeration for delicate seeds.
- Seedling mats or biodegradable pots: Keep roots moist without transplant shock.
- Hydroponic germination trays: Great for indoor starters (use a seed starter solution).
Pro tip: If using alternatives, ensure they’re sterilized to avoid mold.
Wrapping up and next steps
Mastering the balance of soil, seed, and water is your ticket to lush, thriving lawns! Whether you’re a seasoned gardener or just starting, these layered moisture secrets unlock the potential for faster, healthier germination—no guesswork required. 🌱
Ready to put your knowledge into action? Start small: test your soil, adjust your watering routine, and experiment with seed placement. Every drop and layer counts—your future lawn will thank you! Grab your tools and get growing!