
Lawn
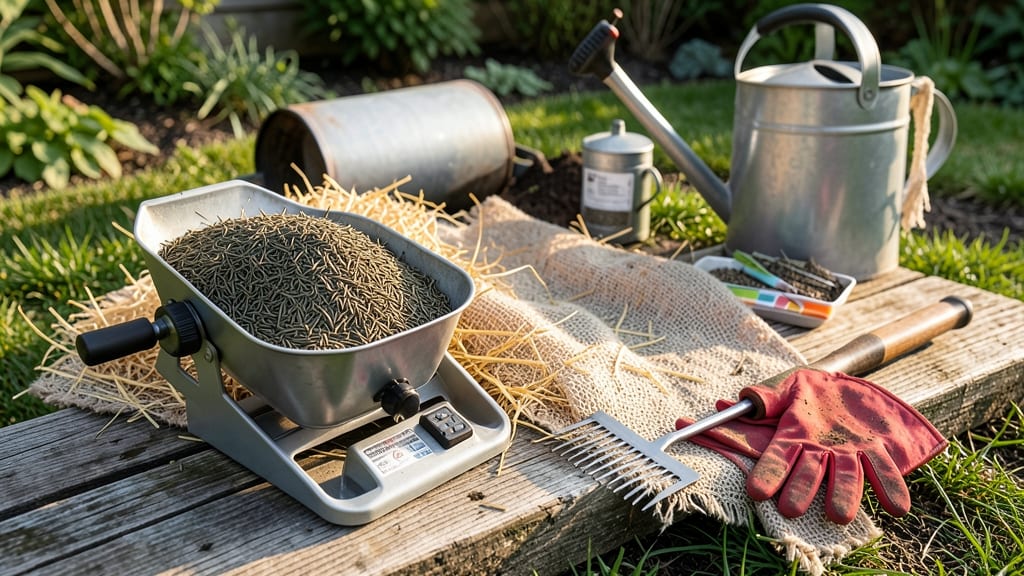
Putting grass seed down the right way means the difference between a lush lawn and patchy disappointment. ✨ I've learned that even coverage isn't about guesswork—it's about prep, technique, and patience that pays off in vibrant green within weeks.
The secret starts with a clean, leveled soil bed where every seed has equal access to sunlight and moisture.
You'll need a rake, spreader (or a simple hand method), and a gentle touch—no heavy foot traffic after seeding. Cool-season grasses like fescue thrive with early fall planting, while warm-season Bermuda prefers late spring heat.
The key is keeping seeds consistently moist for the first 10-14 days, which is where most people stumble.
What you end up with is a uniform carpet of grass that outcompetes weeds naturally. No bare spots, no thin patches—just that satisfying, even texture you see in showpiece lawns.
The first mowing happens at 3-4 inches once the grass reaches about 3 inches tall, and that's when you know you've done it right.
Works for new lawns, patch repairs, or overseeding—just adjust seed rates for your specific grass type. Here's how to make it foolproof, even on your first try.
📚 In This Guide
- What you need
- Instructions
- Tips and common mistakes
- Wrapping up and next steps
What you need
- ● Grass seed: Choose a high-quality seed blend suited to your climate (cool-season or warm-season). Aim for 10–15 lbs per 500 sq ft for new lawns or 5–10 lbs per 500 sq ft for overseeding.
- ● Lawn fertilizer: A starter fertilizer (high in phosphorus, like 10-20-10) to boost root growth. Use ½ lb per 100 sq ft.
- ○ Topsoil or compost: ¼–½ inch layer to improve seed-to-soil contact (optional but helpful for bare spots).
- ● Rake: A bow rake (for leveling soil) and a hand rake (for spreading seed evenly).
- ● Broadcast spreader: A handheld or walk-behind model for precise seed distribution (rent or buy for ~$50–$200).
- ● Water source: A hose with a sprinkler head or garden hose spray nozzle for gentle watering.
- ○ Lawn roller (optional): A lightweight roller (~50 lbs) to press seed into soil (skip if soil is already moist).
- ● Prepped soil: Clear debris, loosen compacted areas, and test pH (ideal range: 6.0–7.0).
- ● Weather check: Plant seed when temps are 60–75°F (cool-season) or 75–85°F (warm-season) with no rain forecast for 24–48 hours.
- ● Timing: Early morning or late afternoon to avoid seed drying out in direct sun.
Step-by-Step instructions for planting grass seed with perfect coverage
Here’s the foolproof method I use to ensure every seed makes contact with soil and moisture—no wasted packets or patchy lawns.
🌱 Step 1: Prepare the Soil Surface for Ideal Seed Contact
Rake the bare soil until it’s smooth and free of debris, then create a fine, crumbly texture. You want the surface to feel like a golf course’s putting green—not rocky or clumpy. Press down lightly with your rake to eliminate air pockets, which can prevent seed-to-soil contact. This step is critical: if seeds land in crevices, they’ll dry out before germinating.
Check your work by running your hand over the area—it should feel uniformly firm without any sharp edges. If you see clumps, break them up with the back of your rake. The goal is to mimic the texture of a freshly tilled vegetable bed, where every seed has an equal chance to establish.
💧 Step 2: Spread Seed Evenly Using the Right Technique
Pour half the seed into a spreader and walk in straight lines, overlapping slightly with each pass. Move at a steady pace—too fast and you’ll miss spots; too slow and you’ll create thick patches. I like to use a hand-held spreader for small areas because it gives me better control over coverage. For larger lawns, a broadcast spreader works, but always calibrate it first by testing on a scrap of cardboard.
After the first pass, rotate 90 degrees and repeat with the remaining seed. This crosshatching ensures no gaps appear. Lightly rake the area again with a stiff-bristled rake to work seeds into the top ¼ inch of soil without burying them. You’ll see the seeds nestled just below the surface—this is perfect for germination.
☀️ Step 3: Apply a Thin Layer of Starter Soil or Mulch
Spread a ¼-inch layer of fine, sifted topsoil or straw mulch over the seeded area to protect seeds from drying out and birds. Avoid heavy mulch—it can smother seeds. I use a lightweight straw mulch because it holds moisture while allowing sunlight to reach the seeds. Gently press the mulch down with your hand or a lightweight roller to ensure full contact with the soil.
Water immediately after applying mulch, keeping the soil consistently moist (not soggy) for the first 10-14 days. You’ll know moisture is right when the surface looks dark but not glistening. Overwatering now can wash seeds away, while underwatering leaves them exposed to drying winds.
⏰ Step 4: Maintain Moisture and Monitor Germination
Water lightly twice daily (morning and evening) for the first week, using a fine mist setting on your hose or sprinkler. Aim for ¼ inch of water per application—enough to keep the top inch of soil damp but not saturated. After germination (usually 7-21 days, depending on the grass type), reduce to deep, infrequent watering to encourage strong root growth.
Watch for the first green shoots—this is your signal that seeds have successfully sprouted. Once the new grass reaches 2-3 inches tall, gradually reduce watering to 1 inch per week. Thin patches? Re-seed those areas immediately, following the same coverage method. Consistency is key: uneven moisture leads to uneven growth.
Tips & tricks for perfect grass seed planting
Here’s how to avoid the most common mistakes and get that lush, even coverage every time.
Surface Prep is Everything: In Step 1, don’t just rake—press down firmly after smoothing. I learned this the hard way when seeds landed in tiny air pockets and dried out. Run your hand over the area: it should feel like a smooth putting green. If you see any micro-clumps, break them up with the back of your rake. This ensures every seed makes direct contact with moist soil, which is exactly what those 10-14 days of consistent moisture depend on.
Spreader Calibration Saves Money: Before you start spreading in Step 2, test your spreader on a piece of cardboard. Mark where the seed lands after each pass—you’ll often find it’s depositing more in the center than the edges. Adjust the settings so the pattern is uniform. This prevents those frustrating thick patches where you’ve used twice as much seed as needed, and thin spots where you missed coverage entirely. Pro tip: walk at the same speed you’ll use on your lawn during this test.
Mulch Matters More Than You Think: That ¼-inch layer in Step 3 isn’t just decoration—it’s your seed’s first line of defense. Straw mulch lets sunlight through while protecting seeds from drying winds, but don’t press too hard when applying it. Think "gentle snowfall" rather than "compacted snow." The goal is to keep seeds snug against the soil without creating a barrier that blocks moisture or air circulation. I’ve seen seeds fail to germinate because they were buried too deeply under heavy mulch.
Watering Precision Prevents Waste: During that critical first week in Step 4, aim for that fine mist setting—you’re not trying to create a swamp, just maintain consistent moisture. I use a simple trick: place a straight-sided container (like a tuna can) in the seeded area and water until it collects ¼ inch of water. This visual cue helps me judge whether I’m over- or under-watering. Too much water can wash seeds away, while too little leaves them exposed to drying out before germination.
Pro Tips for Best Way To Put Grass Seed Down
- Here’s how to avoid the most common mistakes and get that lush, even coverage every time.
- Surface Prep is Everything: In Step 1, don’t just rake—press down firmly after smoothing. I learned this the hard way...
- Spreader Calibration Saves Money: Before you start spreading in Step 2, test your spreader on a piece of cardboard. M...
Frequently asked questions
Got questions about sowing grass seed like a pro? Here are answers to the most common ones—so you can tackle your lawn project with confidence!
How do I know if I’m using the right amount of grass seed?
Check the seed package for coverage rates (usually in lbs per 1,000 sq ft). For most lawns, 5–10 lbs per 1,000 sq ft is standard. Over-seeding? Thin it out—too much seed competes for nutrients and can lead to patchy growth. Pro tip: Use a seed spreader for precision!
When is the best time of day to plant grass seed?
Sow seed in the early morning or late afternoon to avoid midday heat and strong winds. Cool temps (60–75°F) and light shade help moisture retention. Avoid peak sun hours—seed can dry out before germinating. Water immediately after planting!
Can I just broadcast seed over my lawn without preparing the soil?
Not ideal! While you can broadcast seed, prepping the soil (raking, aerating, or dethatching) ensures better contact with soil and nutrients. Skipping prep risks poor germination, weeds, or uneven growth. For best results, loosen soil ¼-inch deep and remove debris.
How often should I water grass seed after planting?
Keep soil consistently moist (not soggy!) for the first 2–3 weeks. Water lightly 2x daily (morning/evening) to prevent crusting. Once seedlings sprout, switch to deep, infrequent watering (1 inch per week). Use a sprinkler with fine mist for even coverage.
What if my grass seed isn’t germinating after 2–3 weeks?
Check these fixes:
- Moisture: Soil may be too dry or compacted. Water deeply and aerate if needed.
- Temperature: Seed needs consistent warmth (check package for ideal temps).
- Soil contact: Rake lightly to ensure seed touches bare soil.
- Seed viability: Old seed (<2 years) may have low germination. Test a small patch or buy fresh.
Wrapping up and next steps
Putting down grass seed the right way ensures a lush, vibrant lawn that’s the envy of the neighborhood!
By choosing the best seed, prepping the soil thoroughly, and using the right techniques—like even spreading and proper watering—you’re setting yourself up for success. 🌱 Don’t forget to patience and consistency are key as you nurture your new grass to full growth.
Ready to see your hard work pay off? Grab your tools, follow the steps, and get started today! Your dream lawn is just a few weeks (and a little water) away. 🌿