
Lawn
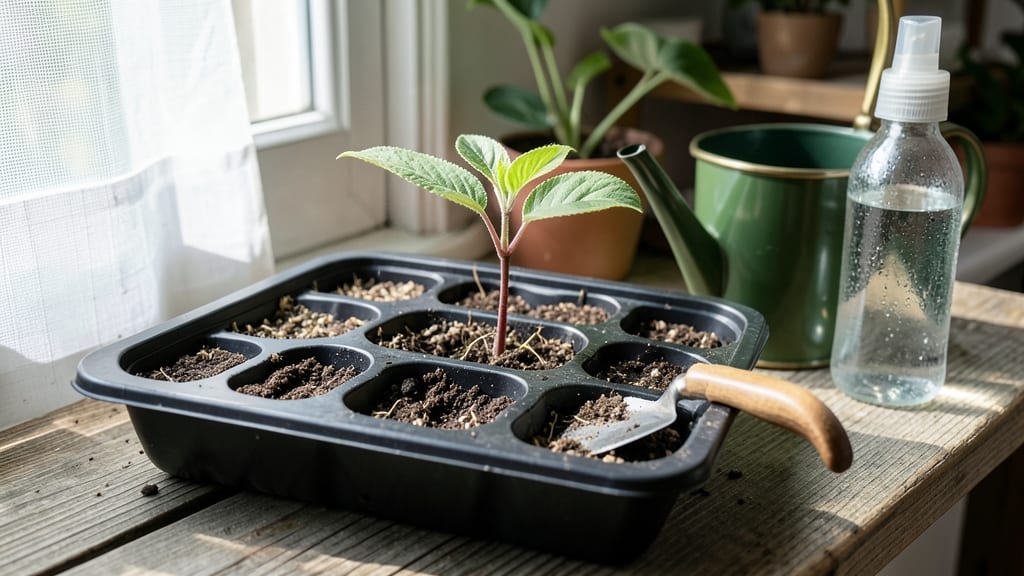
Growing apple trees from apple seed growth isn’t fast—but the layered chill method cuts months off the wait. 🌱 I’ve struggled with slow germination before, and this technique taught me how to break dormancy the right way, giving seeds a fighting chance in just 4-6 weeks instead of months.
The secret lies in mimicking nature’s winter-spring cycle: seeds need cold stratification to trigger growth. You’ll need a mix of damp potting soil, a plastic bag, and patience—no fancy equipment.
Most seeds won’t produce fruit like the parent tree, but the process itself is rewarding, especially when those first green shoots appear.
By spring, you’ll have sturdy seedlings ready for transplanting, though they’ll need 5-7 years to bear fruit. The key is consistency: keep soil moist, provide bright light, and avoid rushing the process. Even if not all seeds sprout, the ones that do reward you with hardy young trees.
This method works best for fresh seeds and cooler climates, but with adjustments, it can succeed almost anywhere. The payoff? A backyard orchard that’s uniquely yours, grown from the ground up.
📚 In This Guide
- What you need
- Instructions
- Tips and common mistakes
- Wrapping up and next steps
What you need
- ● Fresh apple seeds: 10–20 seeds (harvested from organic, non-hybrid apples for best results).
- ● Paper towels or coffee filters: 2–3 sheets (unbleached, seedling-safe).
- ● Plastic wrap or ziplock bag: 1 (to create a humid environment).
- ● Small container or bowl: 1 (wide and shallow, like a plastic takeout container).
- ● Water: Distilled or room-temperature tap water (avoid chlorinated water).
- ● Refrigerator: A standard fridge with a crisper drawer (for the chill phase).
- ● Planting pots or seed trays: 2–4 small pots (3–4 inches in diameter) with drainage holes.
- ● Well-draining potting mix: 1–2 bags (sterile, seed-starting blend).
- ● Spray bottle: 1 (for gentle watering).
- ● Grow lights or sunny windowsill: Access to 6–8 hours of indirect light daily.
- ● Seedling heat mat: 1 (to maintain warmth during germination, 65–75°F).
- ● Humidity dome or plastic cloche: 1 (to retain moisture post-chill).
- ● pH testing kit: 1 (to check soil pH, ideal range: 5.5–6.5).
- ● Fertilizer (balanced, water-soluble): 1 small bottle (for seedlings after 4–6 weeks).
- ● Labeling tags: 5–10 (to track seed varieties and planting dates).
- ● Pruning shears: 1 (for future seedling maintenance).
How to grow apple trees from seeds using the layered chill method
This foolproof method skips the years-long wait—get your seeds sprouting in weeks.
🌱 Step 1: Harvest and Prepare Seeds for Stratification
Collect fresh apple seeds from a ripe fruit you love. Remove the seeds from the core and let them dry completely on a paper towel for 3-5 days at room temperature. This prevents mold and prepares them for cold treatment. I like to spread them in a single layer on the towel and flip them daily to ensure even drying.
Once dry, store the seeds in a sealed container in your refrigerator’s crisper drawer for 6-8 weeks. The cold mimics winter conditions, breaking dormancy. You’ll know they’re ready when the outer seed coat softens slightly—it should feel less hard under your fingernail.
⏰ Step 2: Layer Chill for Faster Germination
After the initial fridge treatment, place the seeds in a moist paper towel and fold it to cover them completely. Put the wrapped seeds back in the refrigerator for another 4-6 weeks. This layered chill method tricks the seeds into thinking they’ve survived winter and spring, speeding up germination dramatically.
Check the towel weekly—it should stay damp but not soggy. If it dries out, mist it lightly with water. The seeds are ready when you see a tiny white root (radicle) emerging from the seed coat. This usually happens within 2-4 weeks of the second cold period.
💧 Step 3: Plant the Germinated Seeds
Fill small pots with sterile seed-starting mix and plant each seed ½ inch deep, leaving the root facing downward. I use biodegradable pots because they eliminate transplant shock later. Water gently until the soil is moist but not waterlogged—you want the surface to look slightly damp, not glistening.
Place the pots in a warm, bright spot with indirect light (like a north-facing window). Keep the soil consistently moist by watering whenever the top inch feels dry. You’ll see the first true leaves emerge in 2-4 weeks, signaling that the seedling is establishing its root system.
☀️ Step 4: Transition to Sunlight and Harden Off
Once seedlings have 2-3 sets of leaves, gradually introduce them to direct sunlight over 1-2 weeks. Start with 2-3 hours of morning sun and increase daily. This prevents leaf scorch and helps the seedlings develop strong cell walls. You’ll notice the leaves darken and thicken as they adapt.
Two weeks before your last frost date, begin hardening off by placing the seedlings outside in a sheltered spot for 1-2 hours the first day. Gradually increase their outdoor time by 1 hour daily until they can stay out all day. This prepares them for permanent planting and reduces transplant shock.
🪴 Step 5: Plant Outdoors and Maintain Growth
Transplant the seedlings into the garden after the last frost when soil temperatures reach 60°F. Choose a sunny spot with well-draining soil and space them 20-25 feet apart—apple trees need room to grow. Water deeply at planting and mulch with 2-3 inches of organic mulch to retain moisture and regulate soil temperature.
Monitor the soil moisture—water whenever the top 2 inches feel dry. Apple seedlings thrive with 1 inch of water per week, but avoid overwatering, which can lead to root rot. You’ll see new growth within 4-6 weeks, confirming your tree is establishing itself.
Tips & tricks for faster apple seed germination
Skip the years of waiting—these tricks will help your apple seeds sprout in record time.
Timing Secret: The 6-8 week cold treatment in Step 1 is non-negotiable for breaking dormancy, but you can speed up the process slightly by using a seed stratification kit that maintains consistent moisture and cold. I've found that keeping seeds at a steady 40°F during this period (instead of fridge fluctuations) can shave off 1-2 weeks. Just monitor weekly to ensure no mold develops from excess moisture.
Layered Chill Insight: During the second 4-6 week cold period in Step 2, place your damp paper towel-wrapped seeds on a wire rack inside a sealed plastic bag. This creates a mini greenhouse effect that maintains humidity while still allowing airflow. The tiny white root should appear within 2-4 weeks—if you don't see progress after 4 weeks, gently check one seed by peeling back the paper to see if it's still viable.
Planting Precision: When planting your ½-inch deep seeds in Step 3, use a toothpick to create a small hole in the sterile seed-starting mix. This ensures proper depth placement and prevents damaging the delicate radicle. After planting, place your pots in a clear plastic bag with a few air holes to create a humid environment—this mimics natural spring conditions and can accelerate the 2-4 week emergence time by about 3-5 days.
Sunlight Transition: For the gradual sunlight introduction in Step 4, I recommend using a sheer curtain over your seedlings during the first week. This filters sunlight while still allowing light penetration, preventing leaf scorch while helping the seedlings develop stronger cell walls. The gradual increase to 2-3 hours of morning sun should be done in 3-4 day increments rather than daily to avoid shocking the plants.
Pro Tips for Apple Seed Growth
- Skip the years of waiting—these tricks will help your apple seeds sprout in record time.
- Timing Secret: The 6-8 week cold treatment in Step 1 is non-negotiable for breaking dormancy, but you can speed up the process slightly by using a seed stratification kit that maintains consistent moisture and cold.
- Layered Chill Insight: During the second 4-6 week cold period in Step 2, place your damp paper towel-wrapped seeds on a wire rack inside a sealed plastic bag.
Frequently asked questions
Got questions about growing apple seeds? You’re not alone! Here are some of the most common queries—and straightforward answers—to help you succeed with your layered chill method.
How long does it take for apple seeds to germinate using the layered chill method?
The layered chill method typically speeds up germination to 4–8 weeks. With proper moisture, temperature (around 40–50°F), and patience, you’ll see sprouts peeking through the soil. Keep the container in a dark, cool spot until germination begins—then move it to light!
Can I use seeds from any apple variety, or do I need a specific type?
Most apple seeds will germinate, but not all will grow true to the parent fruit. For predictable results, use seeds from heirloom or open-pollinated varieties (like Granny Smith or Honeycrisp). Store-bought apples (often hybrids) may yield unpredictable trees—so save seeds from organic or locally grown apples if possible!
What if my seeds aren’t sprouting after 2 months? What’s the fix?
If seeds remain dormant, try these troubleshooting steps:
- Check moisture: Overly dry or waterlogged soil can stall growth. Aim for consistently damp (not soggy) conditions.
- Adjust temperature: Seeds need a cool phase (40–50°F) followed by warmth (60–70°F). Move the container to a sunny windowsill or under grow lights.
- Test viability: Soak seeds in water overnight—if they sink, they’re likely viable. Discard any that float.
Do I need to transplant seedlings, or can I grow them directly in the layered setup?
While you can grow seedlings in the layered container, they’ll outgrow it quickly. Once sprouts reach 2–3 inches tall, transplant them into individual pots with well-draining soil. Harden off seedlings for a week before moving them outdoors (after the last frost) to avoid shock.
Are there faster alternatives to the layered chill method for apple seed germination?
Yes! Two quicker methods include:
- Stratification in peat moss: Mix seeds with damp peat moss, refrigerate for 4–6 weeks, then plant.
- Hot water soak: Boil water, pour over seeds in a jar, let sit overnight, then plant. This mimics natural weathering.
Wrapping up and next steps
Growing apple seeds into thriving plants is a rewarding journey that combines patience with a touch of science! By mastering the layered chill method, you’ve unlocked a faster, more reliable way to kickstart germination—whether you’re dreaming of a backyard orchard or just curious about nature’s magic. 🌱
Ready to take the next step? Start by planting your pre-chilled seeds in well-draining soil and watch as tiny sprouts emerge in weeks (not months!). For even better results, explore our pro tips on maintaining humidity and light—your future apple tree’s health depends on it!