
Lawn
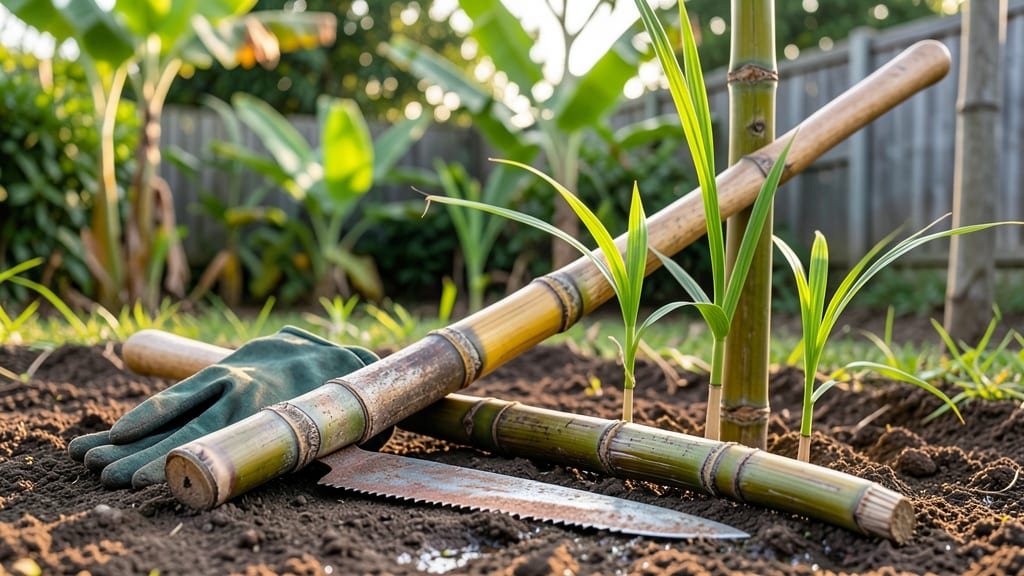
Growing sugarcane from seed cane delivers fast, towering stalks in just a few months—no fancy equipment needed. 🌱 I’ve propagated my own cane for years, and the secret lies in mimicking its tropical roots with simple soil prep and consistent moisture.
What starts as a dormant stalk transforms into a 12-foot giant by harvest time, with minimal fuss once you know the basics.
The real magic happens in warm soil (70°F+) and a sunny spot—sugarcane thrives where other plants struggle. You’ll need 4-6 inch cuttings from mature stalks, a well-draining mix, and patience for the first sprouts (they can take 2-3 weeks to crack open).
The payoff? Harvest-ready cane in 6-9 months, depending on your climate, with minimal pest issues if you time it right.
Once established, these plants drink water like there’s no tomorrow—1-2 inches per week during growth—but they reward you with sweet, fibrous stalks perfect for syrup, juice, or even ornamental use. The best part? They self-propagate, so you’ll have spare canes to share (or plant extra for next year’s harvest).
Even in cooler zones, a long growing season or greenhouse extension works—just protect young shoots from frost. Here’s how to avoid the common pitfalls and grow cane that’ll make your neighbors ask, "What even is that?"
📚 In This Guide
- What you need
- Instructions
- Tips and common mistakes
- Wrapping up and next steps
What you need
- ● Sugarcane seed cane: 5–10 healthy, disease-free stalks (1–2 feet long, with 3–5 buds per stalk). Pro tip: Look for firm, greenish-yellow stalks with no cracks or mold!
- ● Well-draining soil: 5–10 gallons of a mix of 60% topsoil, 30% compost, and 10% perlite/sand to prevent waterlogging.
- ● Containers or garden bed: Option 1: 5–10 5-gallon pots (with drainage holes) or larger containers (12+ inches deep).
- ● Option 2: A sunny garden bed (6+ feet wide, 12+ inches deep) with full sun exposure (6+ hours/day).
- ● Watering can or hose: With a gentle spray nozzle for even moisture distribution.
- ● Pruning shears: Sharp, sterilized shears to trim stalks and remove dead buds.
- ● Gloves: Heavy-duty gardening gloves to protect hands from sharp cane edges.
- ● Mulch: Straw or wood chips (2–3 inches thick) to retain moisture and regulate soil temperature.
- ● Fertilizer: Balanced fertilizer (10-10-10): 1–2 tablespoons per plant at planting time.
- ○ Organic compost tea: Optional boost for nutrient-rich soil.
- ● Shade cloth (30–50% coverage): For young seedlings if temperatures exceed 90°F (32°C).
- ● pH test kit: To ensure soil pH is between 5.5–7.0 (sugarcane thrives in slightly acidic to neutral soil!).
- ● Climate: Warm, tropical, or subtropical zones (USDA Hardiness Zones 9–11). Pro tip: Start indoors 4–6 weeks before the last frost if you’re in a cooler zone!
- ● Sunlight: Confirm a location with full sun exposure (min. 6 hours/day).
- ● Water source: Ready access to water for consistent moisture (sugarcane loves hydration!).
Step-by-Step instructions for propagating sugarcane from seed cane
Here's how to grow robust sugarcane plants in just weeks—no complicated tools or greenhouses needed.
🌱 Step 1: Select and Prepare Healthy Seed Cane
Choose mature, disease-free stalks with at least 3-4 buds (the small nodes along the stem). Cut sections 12-18 inches long using a sterilized knife, ensuring each piece has 2-3 buds. I always soak the cuttings in lukewarm water for 24 hours—this softens the outer layer and kickstarts root growth before planting.
Rinse the soaked cane thoroughly to remove any residual soil or debris. The buds should look plump and firm, not shriveled or discolored. If you see dark spots or mushy areas, discard that piece immediately—those are signs of rot or disease that will spread to your new plants.
🪴 Step 2: Plant in Well-Draining, Warm Soil
Sugarcane thrives in sandy loam soil with a pH of 6.0-7.5. Mix 1 part compost into the top 6 inches of soil to boost fertility without compacting the mix. Plant the prepared cane 4-6 inches deep, burying 1-2 buds per section just below the soil surface. Space plants 2-3 feet apart in rows 3 feet apart—this gives roots room to spread without crowding.
Water immediately after planting until the soil feels deeply moist to 6 inches down. The key here is warmth—sugarcane roots struggle below 65°F. If your spring is cool, use a black plastic mulch to raise soil temperature by 5-10°F. You'll see new shoots emerge within 7-14 days if conditions are right.
☀️ Step 3: Provide Full Sun and Consistent Moisture
Sugarcane demands full sun (6+ hours daily)—no compromises. Even partial shade slows growth and reduces yield. If you're in a hot climate, provide afternoon shade during the first 2 weeks to prevent transplant shock. Once established, let the plants bask in direct sunlight; you'll notice leaves develop a deep green, waxy texture when they're happy.
Water deeply 2-3 times per week, aiming for 1-2 inches of moisture per week. Let the top 2 inches of soil dry between waterings—this prevents root rot while keeping the plant hydrated. Mulch with straw or grass clippings to retain moisture and suppress weeds. Avoid overhead watering after leaves appear; wet foliage invites fungal diseases like leaf scorch.
✂️ Step 4: Fertilize and Support for Maximum Growth
After 4-6 weeks, when new shoots reach 12-18 inches tall, apply a balanced fertilizer (10-10-10) at half-strength. Work it into the soil around the base, but never touch the stems—direct contact burns tender tissue. Sugarcane is a heavy feeder, so repeat this every 4 weeks through the growing season. You'll see a surge in growth: leaves will elongate, and new tillers (side shoots) will emerge from the base.
As stalks grow taller, they'll need support. Install bamboo stakes or wire trellises when plants reach 3 feet tall. Tie stems loosely with soft twine to prevent breakage. This isn't just for aesthetics—proper support ensures even sunlight exposure and prevents lodging (when plants fall over due to wind or rain). A well-supported cane will grow straight and sturdy, ready for harvest in 10-12 months.
⏰ Step 5: Harvest and Prepare for Next Season
Harvest when stalks turn golden brown and leaves yellow naturally—this usually happens in late fall or early winter in most climates. Cut stalks at the base with a sharp knife, leaving 2-3 inches of stubble. Bundle and hang them in a dry, shaded area for 2-3 weeks to cure. Proper curing concentrates sugars and makes the cane easier to store.
Save the best stalks for next season's propagation. Store them in a cool, dry place (50-60°F) until spring. You can also replant cured stalks directly into the ground in warmer climates—they'll sprout again with minimal effort. Sugarcane is a perennial crop, so with proper care, you'll have a renewable source of seed cane for years.
Tips & tricks for perfect sugarcane propagation
Fast-growing sugarcane thrives on attention to detail—here's how to maximize your success without the usual growing pains.
Bud Selection: In Step 1, prioritize buds that are plump and slightly raised above the stalk surface. These are the most vigorous and will root fastest. Avoid selecting buds near damaged or discolored areas—even a small spot can compromise the entire cutting. I've found that the middle buds on a stalk tend to be the most reliable for propagation, as they've had the most time to mature.
Soaking Strategy: The 24-hour lukewarm water soak in Step 1 isn't just about hydration—it's about breaking dormancy. Use water between 70-80°F for optimal results. You'll notice tiny root hairs forming along the cut edges after just 12-18 hours. If your water feels cooler than 65°F, consider using a seedling heat mat underneath your soaking container to maintain consistent warmth.
Planting Depth: When planting in Step 2, bury only the lower half of the stalk—this ensures the buds remain just below the soil surface. The top half should protrude above ground to prevent rot while allowing access to sunlight. I've seen beginners bury the entire stalk, which leads to poor emergence and disease. Use a ruler to verify your 4-6 inch depth—this consistency makes all the difference in root development.
Temperature Management: Sugarcane roots are particularly sensitive to cold soil temperatures below 65°F. If your spring planting coincides with cooler weather, use black plastic mulch to raise soil temperatures by 5-10°F. I've had success with this technique even in zones where sugarcane typically struggles. The mulch also helps retain moisture, reducing your watering frequency by about 20%. Remember to remove it once shoots emerge to prevent overheating.
Pro Tips for Sugarcane Seed Cane
- Fast-growing sugarcane thrives on attention to detail—here's how to maximize your success without the usual growing pains.
- Bud Selection: In Step 1, prioritize buds that are plump and slightly raised above the stalk surface.
- Soaking Strategy: The 24-hour lukewarm water soak in Step 1 isn't just about hydration—it's about breaking dormancy.
Frequently asked questions
Got questions about growing sugarcane from seed cane? You’re not alone! Here are answers to the most common queries to help you propagate like a pro.
What’s the best time to plant sugarcane seed cane?
Plant seed cane during the warmest months of your growing season—typically spring or early summer. Sugarcane thrives in 70–90°F (21–32°C) soil, so avoid frost-prone areas. In tropical climates, year-round planting works, but cooler seasons slow growth. Aim for full sun (6+ hours daily) for best results!
How long does it take for seed cane to establish roots?
Seed cane usually roots in 2–4 weeks under ideal conditions (moist, warm soil). You’ll spot new shoots within 3–6 weeks, signaling successful establishment. Keep soil consistently moist but not waterlogged—overwatering can cause rot. Patience pays off; full vigor takes 3–6 months!
Can I reuse sugarcane seed cane from last year?
Yes, but with caution! Store leftover seed cane in a cool, dry place (like a shed) and replant within 6–12 months for best viability. Avoid using cane older than a year—it may sprout poorly or attract pests. For guaranteed results, buy fresh seed cane annually from reputable suppliers.
Why isn’t my seed cane sprouting? Troubleshooting tips.
If your seed cane sits stubbornly dormant, check these fixes:
Soil temp too cold? Wait for warmer weather or use a heat mat for indoor starts.
Dry soil? Soak the planting area before and after planting.
Rotted cane? Trim black/mushy sections and replant healthy nodes.
Pests/fungus? Disinfect cane with 10% bleach solution before planting.
Pro tip: Place seed cane horizontally (not vertical) to encourage more shoots!Are there alternatives to traditional seed cane?
Try these low-maintenance options:
- Slips: Small offshoots from mature plants—easiest for beginners!
- Tissue culture: Lab-grown cane (fast, disease-free, but pricier).
- Direct planting from stalks: Break mature stalks into 1–2 ft sections with 2–3 nodes.
Wrapping up and next steps
Growing sugarcane from seed cane is a rewarding way to cultivate fast, hardy plants with minimal fuss! 🌱 By following the right steps—selecting healthy cuttings, ensuring proper soil conditions, and providing consistent care—you’ll enjoy lush, thriving sugarcane in no time.
Whether you're a beginner or a seasoned gardener, this method offers a stress-free path to vigorous growth that’s perfect for lawns, borders, or even privacy screens.
Ready to get started? Take the next step today! Grab your tools, pick a sunny spot, and let your sugarcane seed cane transform your space into a tropical oasis. Happy planting! 🌿