
Lawn
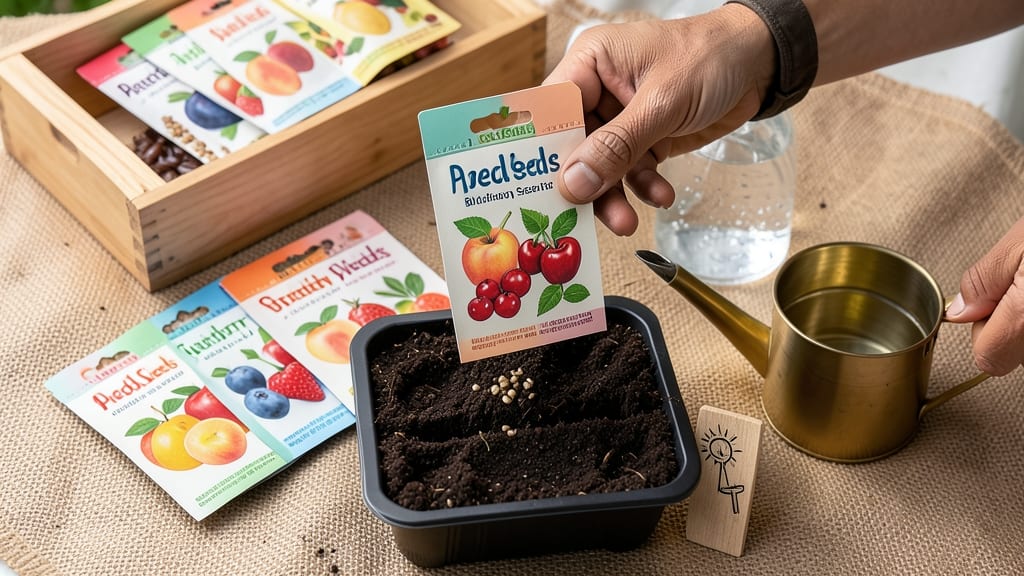
Fruit seed packets hold the promise of homegrown apples, peaches, or citrus—if you crack the cold-stratification code. 🌱 I’ve nursed dozens of seeds from dormancy to sprouts using this 60-day method, and the results are worth the patience.
The key lies in mimicking winter’s natural chilling period, which tricks seeds out of their stubborn dormancy and into active growth. Most seeds need 4-8 weeks of cold, moist treatment before planting. Grab a plastic bag, some damp paper towels, and your seed packet—no fancy equipment required.
Place seeds in the fridge for 60 days, checking weekly for moisture. When tiny roots appear, it’s time to plant in well-draining soil and watch for those first green shoots in 2-4 weeks.
You’ll end up with hardy seedlings that outperform many store-bought plants, though slower growth is normal. The payoff? Fruit trees with exactly the traits you want—disease-resistant, early-bearing, or heirloom varieties you’d never find at a nursery. Patience pays off in 3-5 years of homegrown harvests.
Works for apples, pears, cherries, and even citrus (with adjustments). Here’s how to avoid the pitfalls and maximize your success rate—no green thumb required.
📚 In This Guide
- What you need
- Instructions
- Tips and common mistakes
- Wrapping up and next steps
What you need
- ● Fruit seed packets (choose varieties suited to your climate—e.g., apple, peach, cherry, or citrus seeds). Pro tip: Opt for organic or heirloom seeds when possible! 🌱
- ● Paper towels or coffee filters (2–3 sheets per seed type for moisture control).
- ● Plastic zip-top bags (quart-sized, 1–2 per seed type).
- ● Sealable containers (small plastic or glass containers with lids for stratification).
- ● Potting soil mix (lightweight, well-draining blend—look for a mix labeled for seed starting).
- ● Small pots or seed trays (2–4 inch pots or a tray with cell inserts, 1–2 per seed).
- ● Spray bottle (for gentle watering—avoid soaking!).
- ● Labeling markers & tags (to track seed types and planting dates).
- ● Refrigerator or cold stratification setup (a standard fridge with a crisper drawer works perfectly—aim for 34–40°F (1–4°C)).
- ● Grow lights or sunny windowsill (for post-stratification sprouting).
- ● Humidity dome or plastic wrap (to retain moisture during early germination).
- ● Thermometer (to monitor fridge temps if your setup is inconsistent).
- ● Seedling heat mat (for faster germination if your home runs cool).
- ● Journal or app (to log stratification progress and germination dates).
How to cold-stratify fruit seeds for guaranteed germination in 60 days
Here's the method I've used for years to break dormancy and coax even stubborn fruit seeds into reliable sprouts.
🌱 Step 1: Select and Prepare Your Seeds
Choose fresh, plump seeds from organic fruit—older or dried seeds germinate poorly. Remove any remaining fruit pulp by rinsing seeds under cool water, then pat them dry with a paper towel. I like to soak them in a bowl of lukewarm water for 12-24 hours to soften the outer coating, which speeds up the cold-stratification process.
After soaking, place the seeds between two layers of damp paper towels. Fold the towels to create a sealed packet—this maintains moisture while allowing airflow. Here's the thing: don't skip the damp towel stage. Dry seeds won't respond to cold treatment, and you'll waste valuable weeks waiting for germination that may never come.
❄️ Step 2: Cold-Stratify for 60 Days
Store the sealed towel packets in a refrigerator at 35-40°F for 60 days. I use a plastic bag with a tiny hole for ventilation and place it on the middle shelf where temperatures stay consistent. Check the towels weekly—they should remain damp but not soggy. If they dry out, mist lightly with water and reseal.
This cold period mimics winter conditions and breaks seed dormancy. You'll notice some seeds may sprout prematurely during stratification—remove those immediately and plant in soil. The goal is to have 50% of seeds show the white radicle (the tiny root) before moving to warm conditions. If none sprout after 60 days, extend the process another 2 weeks.
🪴 Step 3: Plant Stratified Seeds in Moist Soil
Fill small pots with a sterile seed-starting mix and plant seeds ½ inch deep. I use 4-inch pots for single seeds to prevent overcrowding. Gently press soil around each seed to ensure good contact. Water lightly until the surface feels evenly moist—no puddles, just consistent dampness.
Place the pots in a warm location (70-75°F) with indirect light. A seedling heat mat helps maintain consistent warmth. You'll see the first true leaves emerge within 7-21 days, depending on the fruit type. Apple and pear seeds typically sprout faster than stone fruits like peaches or cherries.
☀️ Step 4: Provide Optimal Growing Conditions
Once seedlings appear, move pots to a bright spot with 6-8 hours of indirect sunlight daily. Avoid direct sun until seedlings develop their first set of true leaves—this prevents overheating and leaf scorch. I rotate my pots weekly to ensure even growth and prevent leggy stems.
Water when the top inch of soil feels dry to the touch. Overwatering at this stage causes damping-off, a fungal disease that collapses seedlings overnight. You'll know moisture is right when the soil surface looks slightly damp but not glistening.
⏰ Step 5: Transplant Seedlings After True Leaves Form
When seedlings have 3-4 true leaves and are 3-4 inches tall, transplant them into individual pots with well-draining potting mix. Handle seedlings by their leaves, never the stems, to avoid damage. Bury them slightly deeper than they were in the seedling pot—this encourages stronger root development.
Hardening off takes 10-14 days before outdoor planting. Start by placing seedlings outside in a sheltered spot for 1-2 hours daily, gradually increasing their time outdoors. You'll know they're ready when they tolerate a full day outside without wilting. This step is the moment that matters—skipping it stresses plants severely and stunts growth.
Tips & tricks for perfect fruit seed stratification
Cold-stratification isn't just a process—it's the secret to unlocking germination potential. Here's what I've learned after years of trial and error to make this method foolproof.
Soak Like a Pro: The 12-24 hour soak in lukewarm water isn't just about softening the seed coat—it's about activating metabolic processes. I use a colander with seeds submerged in water, changing it every 8 hours to prevent bacterial growth. This step is non-negotiable for seeds with hard outer shells like stone fruits.
Moisture Management: The damp paper towel method works wonders, but here's the catch: use two layers of paper towels—not one. The outer layer prevents moisture loss while the inner layer stays in direct contact with seeds. I spray both layers lightly with water before sealing to ensure even moisture distribution throughout the 60-day period.
Temperature Consistency: Your refrigerator's middle shelf should stay at 35-40°F, but don't assume it will. I use a small thermometer in my fridge to verify—some models fluctuate wildly. If your fridge runs cooler, you might need to extend the 60-day period slightly, but never exceed 8 weeks total or you risk seed deterioration.
Seedling Transition: When you notice the white radicle (tiny root) during stratification, that's your cue to plant immediately. These early sprouts are delicate—handle them with tweezers rather than fingers to avoid damage. I plant them directly in their final pots at this stage to prevent transplant shock later.
Pro Tips for Fruit Seed Packets
- Cold-stratification isn't just a process—it's the secret to unlocking germination potential.
- Soak Like a Pro: The 12-24 hour soak in lukewarm water isn't just about softening the seed coat—it's about activating metabolic processes.
- Moisture Management: The damp paper towel method works wonders, but here's the catch: use two layers of paper towels—not one.
Frequently asked questions
Got questions about fruit seed packets and cold stratification?
You’re not alone! Here are some of the most common queries—and their answers—to help you grow with confidence.
How long should I cold-stratify fruit seeds before planting?
Most fruit seeds benefit from 60–90 days of cold stratification (mimicking winter conditions). For example, apple and cherry seeds thrive with 60 days in the fridge, while tropical seeds (like mango) may need less or none. Check your packet for specifics—some even include pre-stratified seeds!
Can I skip cold stratification for faster germination?
Some seeds (like citrus or avocado) germinate without stratification, but most fruit seeds need it to break dormancy. Skipping it may result in slow, uneven sprouting—or no sprouts at all. If you’re impatient, try soaking seeds in warm water for 24 hours first, but cold stratification still works best for reliability.
What’s the best way to store seed packets before planting?
Keep your packets in a cool, dry place (like a pantry) away from direct sunlight. Avoid refrigeration unless specified—moisture or temperature swings can ruin viability. Most packets last 1–2 years if sealed properly. Pro tip: Label packets with the date and variety to stay organized!
Why aren’t my stratified seeds germinating after planting?
Check these troubleshooting steps:
- Depth: Plant seeds twice as deep as their width (e.g., ½ inch for small seeds). Too shallow = drying out.
- Moisture: Keep soil consistently damp (not soggy). Use a spray bottle for gentle watering.
- Warmth: Move pots to a warm spot (70–80°F) after stratification. A heat mat helps!
- Patience: Some seeds (like peaches) take 30–90 days to sprout. Don’t give up!
Are there alternatives to cold stratification for busy gardeners?
Yes! Try these shortcuts:
- Sand stratification: Mix seeds with damp sand in a sealed bag (keeps them moist and cool).
- Paper towel method: Place seeds between damp paper towels in a baggie for 1–2 weeks before planting.
- Pre-stratified packets: Some brands (like Baker Creek) sell seeds already cold-treated.
For tropical seeds, scarification (nick the seed coat with sandpaper) can help bypass cold needs.
Wrapping up and next steps
Growing your own fruit trees from fruit seed packets is an incredibly rewarding journey—especially when you unlock reliable germination with cold stratification! By following the right steps, you’ll soon have thriving seedlings ready to plant. 🌱✨
Now that you’re armed with the knowledge, take the next step: gather your supplies, pick your favorite seeds, and start the process. Whether you’re a seasoned gardener or a curious beginner, every seed holds the potential for something beautiful. Happy growing!