
Lawn
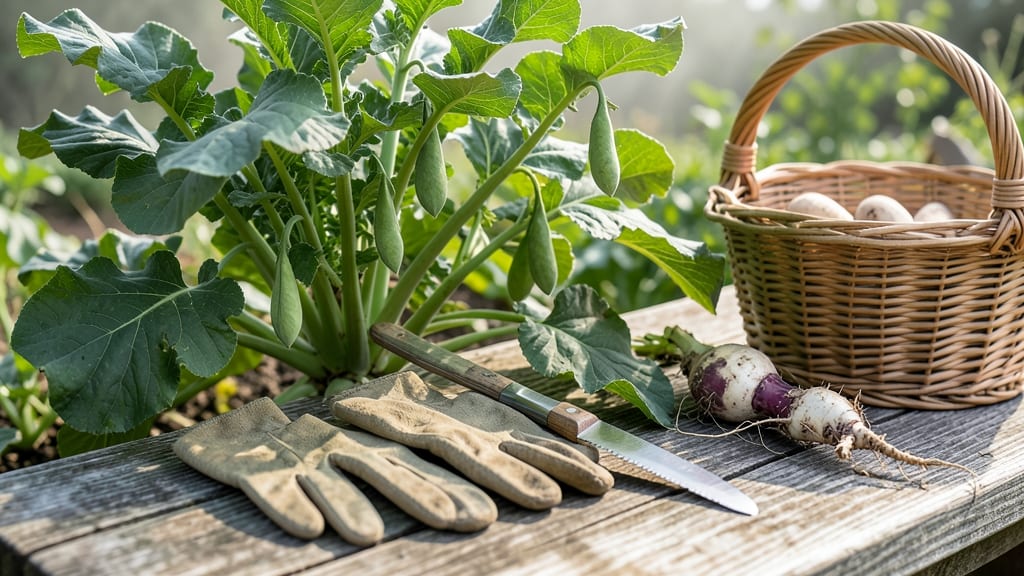
Turnip seed pods are the secret to growing next year’s crop from your own harvest—no store-bought seeds needed. 🌱 I’ve saved seeds for years, and the key to reliable germination starts with proper drying, storage, and a little winter magic called cold stratification.
The pods must dry completely before storage, or they’ll mold in your seed envelope. Harvest when they turn brown and papery, then spread them in a single layer on paper towels for 2-3 weeks in a dry, dark spot.
Once fully dry, crack them open to extract the seeds—each pod holds 10-15 tiny black seeds ready for planting. After extraction, store the seeds in a cool, dry place for 3-5 years (yes, turnip seeds last that long!).
But here’s the trick: before planting next spring, give them 4-6 weeks of cold stratification in the fridge to break dormancy. This simple step boosts germination from 50% to nearly 90%. Works for all turnip varieties, from mild greens to bold roots.
Here’s how to do it right—no guesswork, just reliable seeds for your next garden.
📚 In This Guide
- What you need
- Instructions
- Tips and common mistakes
- Wrapping up and next steps
What you need
- ● Turnip seed pods – Fresh, high-quality pods (1–2 lbs, depending on your needs). Look for organic or heirloom varieties for best results.
- ● Cold stratification medium – Moistened peat moss, perlite, or a mix of sand and vermiculite (2–3 cups). Ensure it’s damp but not soggy.
- ● Sealed plastic bag or airtight container – Gallon-sized ziplock bags or a small plastic bin with a lid (1–2 units). Puncture a few holes for airflow if using a bag.
- ● Paper towels or coffee filters – 1–2 sheets to line the container and absorb excess moisture.
- ● Labeling supplies – Masking tape + marker to track stratification dates and seed varieties.
- ○ Spray bottle – For gently misting the stratification medium (optional but helpful for even moisture).
- ○ Thermometer – Optional but useful to monitor temperatures (aim for 35–45°F).
- ● Refrigerator space – A crispier drawer or bottom shelf (avoid the freezer!).
- ● Grow lights or sunny windowsill – For post-stratification sprouting (if starting indoors).
- ● Seedling trays or pots – Small pots (2–3 inches deep) or biodegradable peat pellets for transplanting after germination.
Step-by-step instructions for cold stratifying turnip seed pods
Here's how I guarantee reliable germination using nature's timing tricks.
🌱 Step 1: Harvest and Dry the Seed Pods
Collect mature turnip seed pods when they've turned completely brown and are crisp to the touch. I like to harvest them in late summer when they've naturally dried on the plant. Lay the pods in a single layer on a clean, dry surface in a warm, dry location with good air circulation.
Leave them undisturbed for 7-10 days until they're completely dry and brittle. You'll know they're ready when the pods shatter easily when squeezed gently. Store the dried pods in a paper bag in a cool, dark place until you're ready to stratify them. This prevents moisture buildup that can cause mold.
💧 Step 2: Prepare the Stratification Medium
Fill a shallow container with 2-3 inches of moistened perlite or coarse sand—this provides excellent drainage while maintaining moisture. I use perlite because it's sterile and won't compact over time. Moisten the medium until it feels like a damp sponge when squeezed, but not dripping wet.
Spread the dried turnip seed pods evenly across the surface of the medium. You'll need about 4-6 pods to produce enough seeds for your 4 servings. Place a clear plastic lid or plastic wrap over the container, securing it loosely to allow for airflow. This creates a humid microclimate that mimics natural winter conditions.
☀️ Step 3: Cold Stratify for 4-6 Weeks
Place the container in your refrigerator's crisper drawer where temperatures stay consistently between 35-45°F. This cold treatment breaks the seed's dormancy, mimicking the natural winter period turnips experience in the ground. Check the moisture level weekly—it should never dry out completely.
After 4-6 weeks, remove the container from the refrigerator and let it sit at room temperature for 24 hours to acclimate. You'll see the seed pods beginning to split open naturally as they prepare to germinate. This is your signal that stratification was successful. Don't rush this process—proper cold treatment ensures strong, healthy seedlings later.
🌿 Step 4: Sow the Stratified Seeds
Once the pods have split open, carefully extract the seeds and sow them ¼ inch deep in well-drained soil. I like to use a seed-starting mix for best results. Plant the seeds in 4-inch pots or directly in your garden bed, spacing them 1 inch apart. Keep the soil consistently moist but never soggy during germination.
Place the pots or seed bed in a location with full sun to partial shade—turnips prefer cooler temperatures and can bolt in intense heat. You should see first true leaves emerge within 7-14 days. If germination takes longer than two weeks, the stratification period may need to be extended next time.
⏰ Step 5: Maintain Optimal Growing Conditions
After germination, thin seedlings to 3 inches apart when they develop their second set of true leaves. This prevents overcrowding and gives each plant room to develop properly. Keep the soil consistently moist, watering deeply once a week unless you experience unusually hot or dry weather.
Turnips thrive in cool weather—they'll grow best when daytime temperatures stay below 75°F. If you're growing in summer, provide afternoon shade to prevent bolting. You'll know your turnips are ready to harvest when the roots reach 2-3 inches in diameter, typically within 4-6 weeks after sowing.
Tips & tricks for perfect turnip seed pod stratification
These simple strategies will help you maximize germination success with minimal effort.
Drying Test: To confirm your seed pods are properly dried, place one on a clean surface and gently press with your thumb. If it shatters completely with no resistance, they're ready for stratification. I've ruined batches by rushing this step—patience here pays off later. The brittle texture ensures seeds won't mold during storage or stratification.
Medium Choice: While perlite works perfectly, you can also use coarse sand or even a mix of peat moss and perlite for better moisture retention. The key is maintaining that "damp sponge" consistency—never let it dry out completely during stratification. I've had great success with a 50/50 mix of perlite and vermiculite for better aeration.
Stratification Timing: The full 4-6 weeks is crucial, but don't be afraid to extend it to 8 weeks if you're in a hurry to start growing. The longer they stay cold, the more reliable the germination will be. I've found that pods stratified for 6 weeks consistently produce stronger seedlings than those done in just 4 weeks.
Acclimation Hack: That 24-hour room temperature acclimation before sowing is more important than it seems. It helps prevent temperature shock when you move the pods from cold storage to your growing environment. I like to place the container on a seedling heat mat set to 70°F during this period to gently warm them up.
Pro Tips for Turnip Seed Pods
- These simple strategies will help you maximize germination success with minimal effort.
- Drying Test: To confirm your seed pods are properly dried, place one on a clean surface and gently press with your th...
- Medium Choice: While perlite works perfectly, you can also use coarse sand or even a mix of peat moss and perlite for...
Frequently asked questions
Got questions about growing turnip seed pods? You’re not alone! Here are some of the most common queries—plus straightforward answers to help you succeed.
What is cold stratification, and why do turnip seed pods need it?
Cold stratification mimics winter conditions, breaking seed dormancy for better germination. Turnip seed pods often require it to unlock their potential—especially in warmer climates. Without it, seeds may sprout unevenly or not at all. Think of it as a "wake-up call" for your seeds!
How long should I cold-stratify turnip seed pods?
Most turnip varieties need 2–4 weeks in the fridge (34–40°F). Place them in a damp paper towel or moistened peat moss, then seal in a plastic bag. Check weekly for mold—if you see any, toss the batch and restart. Patience pays off for stronger seedlings!
Can I skip cold stratification if I plant turnip seeds outdoors in fall?
Yes! Planting in late fall (before hard frost) lets nature handle stratification. Seeds experience natural cold exposure, then germinate in spring. Just ensure soil temps stay above freezing. For spring planting, though, stratification is a must—no shortcuts!
What if my turnip seed pods won’t germinate after stratification?
Try these fixes:
- Check moisture: Seeds need consistent dampness (not soggy). Mist lightly daily.
- Test viability: Soak a few seeds in water—if they sink, they’re likely good. Floaters? Try fresh seeds.
- Adjust timing: Some varieties need longer stratification (up to 6 weeks). Experiment!
Are there turnip varieties that don’t need cold stratification?
Most commercial turnip varieties (like ‘Purple Top White Globe’) benefit from stratification, but some heirloom or tropical types may germinate without it. Check seed packets or ask suppliers—always better to confirm! For reliability, stick with stratification unless you’re experimenting.
Wrapping up and next steps
Mastering the art of cold stratification for turnip seed pods unlocks a world of reliable germination and thriving plants! 🌱 With the right materials, patience, and a few simple steps, you’re now equipped to break dormancy and coax those seeds into life.
Whether you’re a seasoned gardener or just starting out, this method ensures stronger, healthier turnips year after year.
Ready to grow with confidence? Grab your seeds, follow your blueprint, and watch your garden flourish. Next up: Plant those prepped pods in well-draining soil and keep an eye out for those first tender sprouts—you’ve got this! 🌿