
Lawn
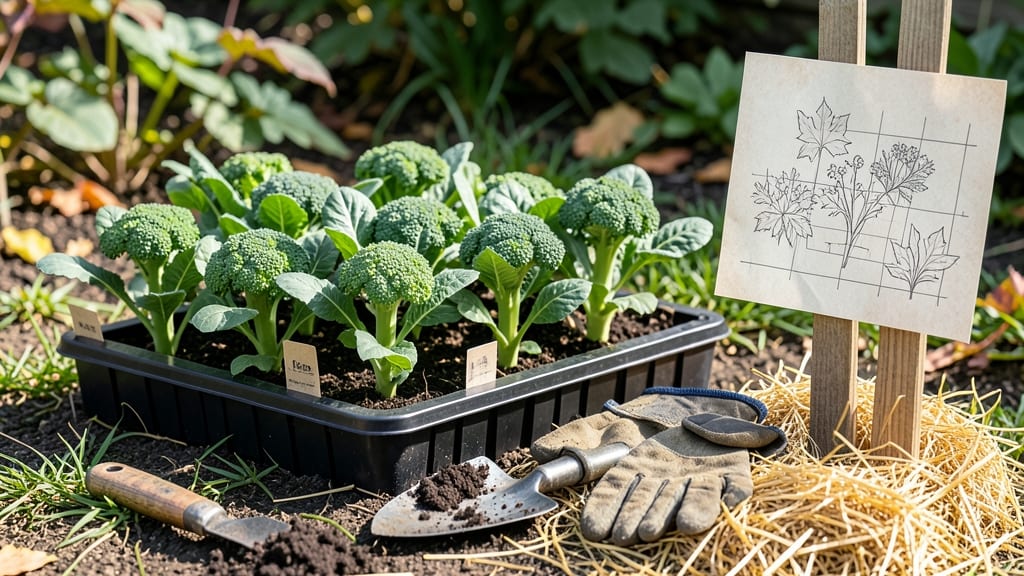
Saving seeds in the fall ensures next year’s garden starts with heirloom quality. 🌱 I’ve saved seeds for five years now, and the first step—choosing the right plants to overwinter—makes all the difference.
Cold-hardy vegetables like spinach, kale, and peas are perfect candidates, while flowers such as cosmos and calendula self-seed effortlessly.
The real secret? Timing and soil prep. Plant seeds 4-6 weeks before your first frost, and loosen the soil to help roots establish before winter.
A light mulch layer protects them from temperature swings while letting rain penetrate. I’ve seen seedlings emerge in early spring with barely any extra effort.
By late fall, you’ll have a patch of overwintered plants ready to grow again as soon as the ground thaws. The payoff? Fresh, homegrown produce that starts earlier than store-bought transplants—and seeds that cost next to nothing. This method cuts garden expenses while keeping heirloom varieties alive.
Works across most climates, though northern gardeners may need extra mulch. Southerners can extend the season with shade cloth. Either way, your spring garden will thank you—and your wallet will too.
📚 In This Guide
- What you need
- Instructions
- Tips and common mistakes
- Wrapping up and next steps
What you need
- ● Mature, healthy plants: Choose open-pollinated or heirloom varieties (avoid hybrids like F1 seeds). Aim for at least 3-5 plants per variety to ensure genetic diversity.
- ● Seed collection tools: Sharp pruning shears or scissors (sterilized with rubbing alcohol).
- ● A clean, dry paper bag or breathable fabric sack (1 per plant variety).
- ○ Optional but helpful: A seed pod or cone collector (for plants like peas or sunflowers).
- ● Drying supplies: A well-ventilated, dry space (e.g., a mesh laundry bag hung in a garage or shed).
- ● Silica gel packets (1–2 per batch of seeds) or a dehumidifier to prevent mold.
- ● Storage containers: Air-tight glass jars with tight-sealing lids (e.g., mason jars, 4–8 oz size).
- ● Paper envelopes (if using jars isn’t an option; label clearly!).
- ● Labeling supplies: Permanent markers (for jars) or waterproof labels (for envelopes).
- ● A notebook or spreadsheet to track seed names, harvest dates, and storage locations.
- ● A seed catalog or app (e.g., Seed Savers Exchange) to cross-reference varieties.
- ● Desiccant packets (for long-term storage beyond 2 years).
- ● A seed tester kit (to check viability if seeds are older than 5 years).
- ● Gloves (if handling spicy or irritating plants like chili peppers).
Instructions for seed saving in the fall
Here's how I collect, dry, and store seeds so they stay viable for years.
🌱 Step 1: Select and Harvest Mature Seed Pods
Wait until seed pods on your plants turn fully brown or dry out—this signals they're ready for collection. For example, tomato seeds ripen when the fruit is soft and mushy, while pea pods turn crispy and brown. I like to harvest on a dry morning so seeds don't stick to damp pods.
Gently twist pods to release seeds, or cut stems and hang them upside down in paper bags to dry completely. If seeds fall out naturally, spread them on newspaper to dry further. Never rush this step—moisture will cause mold and ruin your seeds.
⏰ Step 2: Clean and Dry Seeds Thoroughly
Spread seeds in a single layer on clean paper towels or a mesh screen. Keep them in a warm, dry place with good airflow—like a sunny windowsill or a dehumidifier—until completely dry. You'll know they're ready when they feel light and brittle between your fingers.
For seeds with fleshy coatings (like tomatoes), ferment them in water for 2-3 days to remove gel-like substances that inhibit germination. After fermentation, rinse seeds gently, then dry them again. This extra step prevents mold and improves viability.
🪴 Step 3: Store Seeds Properly for Long-Term Viability
Label envelopes or small jars with the plant name, variety, and harvest date. Store seeds in a cool, dark place—like the back of your freezer or a sealed container in the fridge. Most seeds stay viable for 2-5 years this way, though some (like onions) only last a year.
Keep seeds in airtight containers with silica gel packets to absorb any moisture. I like to use small glass jars with tight lids, as they protect seeds from light and pests. Test viability every few years by planting a few seeds—if germination drops below 50%, it's time to collect fresh ones.
🌿 Step 4: Test and Organize for Next Year
In early spring, plant a small batch of saved seeds to check germination rates. If they sprout well, you're ready for a full planting. If not, collect new seeds that season. I keep a simple spreadsheet tracking varieties, harvest dates, and germination success—it saves headaches later.
Discard any seeds that smell musty, look discolored, or fail to sprout after testing. Fresh seeds from healthy plants always outperform old or weak ones. This method ensures you'll have strong, true-to-type plants for next year's garden.
Tips & tricks for perfect fall seed saving
These little details make all the difference between seeds that sprout next spring and ones that turn to dust.
Harvest Timing is Everything: I can't stress this enough—harvest pods when they're completely dry and brown, not just slightly yellow. For tomatoes, wait until the fruit is mushy and overripe; for beans, pods should rattle when shaken. Harvesting too early means immature seeds that won't germinate. And always pick on a dry morning to prevent moisture from sticking to seeds.
Drying Strategy for Maximum Viability: In Step 2, don't just spread seeds on paper towels—create airflow by using a mesh screen or even a colander. I place mine on a cookie sheet with a fan blowing gently nearby. The goal is complete dryness—seeds should feel brittle and light, like they might shatter if you press too hard. For seeds with fleshy coatings, the 2-3 day fermentation is non-negotiable—it removes that slimy substance that would otherwise prevent germination.
Storage Secrets: When storing seeds in Step 3, I double up on protection: first, use glass jars with tight lids (they block light better than paper envelopes), and second, add a small packet of silica gel to absorb any moisture that might sneak in. For extra-long storage, place your jars in the back of the freezer—this can extend viability beyond the usual 2-5 years for many varieties. Just remember to label everything clearly with the plant name and harvest date!
Pro Tips for Seed In The Fall
- These little details make all the difference between seeds that sprout next spring and ones that turn to dust.
- Harvest Timing is Everything: I can't stress this enough—harvest pods when they're completely dry and brown, not just...
- Drying Strategy for Maximum Viability: In Step 2, don't just spread seeds on paper towels—create airflow by using a m...
Frequently asked questions
Got questions about saving seeds in the fall? You’re not alone! Here are some of the most common concerns—and their straightforward answers—to help you stress-free through the process.
What’s the best time to harvest seeds in the fall?
Harvest seeds when the plant’s pods or flowers turn brown, dry, or begin to split open. For most vegetables (like tomatoes, beans, or peppers), this usually happens after the first frost when moisture drops. Check daily—overripe seeds can scatter or spoil!
How do I know if my seeds are fully mature?
Press a seed pod between your fingers—if it crumbles or releases seeds easily, it’s ready! For leafy greens or herbs, wait until the plant bolts (sends up a flower stalk) and the seeds inside are dry and hard. A gentle shake test works too: mature seeds should rattle inside.
Can I save seeds from hybrid plants?
Not reliably! Hybrid seeds (like many store-bought tomatoes or peppers) won’t grow true to type—you’ll get a mix of traits. Stick to heirloom or open-pollinated varieties labeled “seed saver friendly” for consistent results next year.
What’s the best way to dry and store seeds?
Spread seeds on a paper towel in a warm, dry place (like a sunny windowsill) for 1–2 weeks, stirring occasionally. Once completely dry, store them in airtight containers (like envelopes or jars) with a silica gel packet to absorb moisture. Label with the variety and date!
How do I prevent cross-pollination if I’m saving seeds?
Isolate plants by distance (e.g., 50+ feet for tomatoes) or time (plant male- and female-flowers separately). For small gardens, use row covers or hand-pollinate with a paintbrush. Keep notes on pollinators—bees and wind are the biggest culprits!
Wrapping up and next steps
Fall is the perfect time to harvest and save seeds—your future garden’s secret weapon! 🌱 By following these simple steps, you’ll ensure a bountiful harvest next season while reducing waste and costs. Whether you’re a beginner or a seasoned gardener, seed saving is rewarding and so satisfying.
Ready to take the next step? Start small—pick one or two of your favorite plants to save seeds from this fall. Then, share your newfound skills with fellow gardeners or expand your collection year after year. Your garden’s legacy begins with a single seed! 🌟