
Lawn
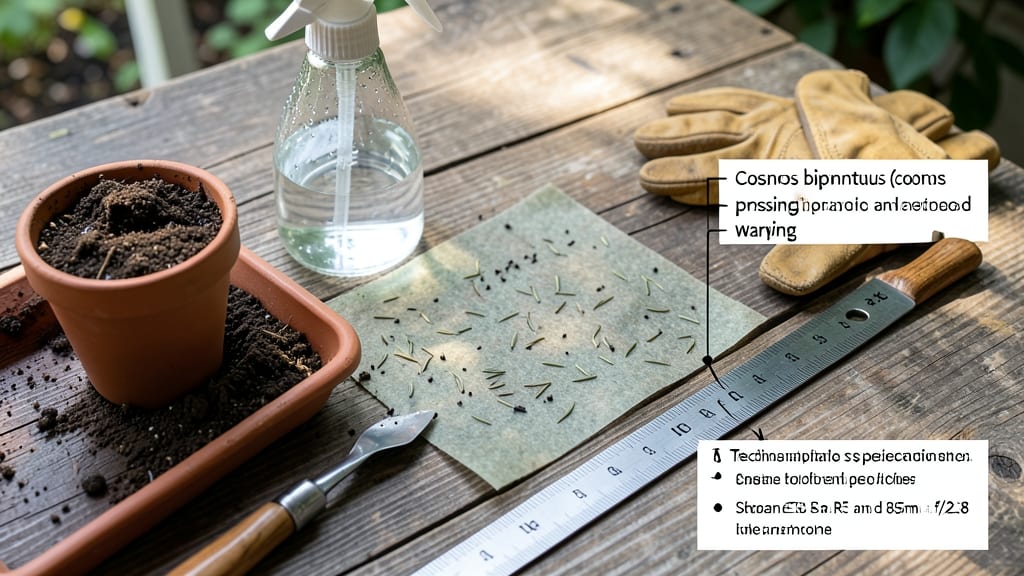
Turn every letter into wildflower blooms with plantable seed paper instructions—no garden required. 🌸 I’ve planted these paper letters in cracks, pots, and even mailboxes, and within weeks, tiny green sprouts push through the fibers, turning mail into meadows.
The magic starts with moisture: soak the paper for 10-15 minutes until soft, then press it into damp soil or a shallow container. Keep it consistently moist (not soggy) and place it where it gets 4-6 hours of sunlight daily.
In 7-14 days, you’ll see the first leaves—no green thumb needed, just patience. By month two, you’ll have a thriving wildflower patch where the paper once was. The best part? No waste: the paper dissolves into the soil, leaving only blooms behind.
Perfect for balconies, windowsills, or even as eco-friendly gifts. Common mistakes? Overwatering (roots rot fast) or skipping sunlight (sprouts stretch weak). Stick with the basics, and you’ll have a living, breathing garden that grows with every word.
📚 In This Guide
- What you need
- Instructions
- Tips and common mistakes
- Wrapping up and next steps
What you need
- ● Seeds: Choose wildflower or herb seeds (e.g., cosmos, sunflowers, or basil). Use 1 tsp per sheet of paper (adjust for larger projects). Opt for organic, non-GMO seeds for best results.
- ● Paper pulp: Recycled paper (newspaper, junk mail, or printer paper). Tear into 1-inch squares for easy blending.
- ● Water: Enough to soak the paper pulp thoroughly (1 cup per 2 cups of pulp). Use room-temperature water.
- ● Blender: A high-powered blender (like a Ninja or Vitamix) to create a smooth pulp mixture.
- ● Mold & deckle: A simple frame (DIY with cardboard or buy a 12x15-inch kit) to shape your paper.
- ● Sponge or towel: For pressing out excess water.
- ● Rolling pin or heavy book: To flatten the paper while drying.
- ● Natural dyes: Turmeric (yellow), beet juice (pink), or coffee (brown) for colored paper.
- ○ Essential oils: A few drops of lavender or citrus for scent (optional but fun!).
- ● Stencil or cookie cutter: To shape your paper into cards, tags, or custom designs.
- ● Seed packet labels: Small tags to note what seeds are planted in each sheet.
Step-by-Step instructions for plantable seed paper
Here's how to transform ordinary paper into a living, blooming message—no gardening experience needed.
🌱 Step 1: Mix Seeds and Water for the Base
Start by blending 2 tablespoons of wildflower seeds with 1 cup of lukewarm water in a bowl. Stir until the seeds are fully suspended—this ensures even distribution later. I like to add a few drops of liquid seaweed fertilizer here; it kickstarts germination and gives seedlings a stronger start. Let the mixture sit for 5 minutes while you prepare your paper.
The key is patience—if the water cools too much, the seeds won’t activate properly. You’ll know it’s ready when the mixture looks cloudy with tiny seed particles floating evenly. This step is where most projects fail: rushing leads to clumpy, uneven seed distribution. Take your time.
📄 Step 2: Soak and Prepare the Paper
Cut your paper into the desired shape—letters, cards, or decorative designs—and place it in a shallow tray. Pour ½ inch of warm water into the tray and let the paper soak for 10-15 seconds until it’s pliable but not soggy. Over-soaking makes the paper mushy and difficult to handle. I tap the edges gently with a sponge to remove excess water while keeping the center damp.
Here’s the thing—thick paper or cardstock needs slightly longer soaking, but newsprint or thin paper dries too fast. Test a scrap piece first to gauge the right time. The paper should feel damp to the touch but not dripping. This ensures the seed mixture adheres without sliding off later.
🌿 Step 3: Apply the Seed Mixture Evenly
Using a clean paintbrush or foam brush, spread the seed-water mixture evenly across the damp paper. Work in small sections to avoid missing spots. Press lightly to help the seeds embed into the fibers—this prevents them from washing off during watering later. For intricate designs, I use a fine-tip brush to outline edges and add details.
Watch for areas where the mixture pools or drips. If this happens, tilt the paper and blot with a paper towel to redistribute. The goal is a uniform, velvety texture where seeds peek through the surface. Let it dry completely in a shaded area for 24 hours—this step is critical for durability.
☀️ Step 4: Plant and Germinate the Seed Paper
Once dry, gently fold or roll the seed paper and place it in a shallow tray or directly into prepared soil. Press lightly to ensure contact with the earth. Water the soil thoroughly until it’s damp 1 inch deep, but avoid soaking the paper itself. I like to mist the top occasionally to maintain moisture without oversaturating.
Germination takes 7-21 days, depending on the wildflower mix and conditions. Keep the soil consistently moist—never soggy—and place the tray in indirect light until sprouts appear. You’ll see tiny green shoots first, followed by the first true leaves. This is the moment that matters: patience here ensures strong, healthy growth.
🌼 Step 5: Transplant and Care for Blooms
When seedlings reach 2-3 inches tall and have developed 2-3 sets of true leaves, it’s time to transplant. Gently unfold the seed paper and place it in the garden bed, pressing the soil around the edges to secure it. Water deeply to help roots establish in their new home. I space mine 6-12 inches apart, depending on the mature size of the wildflowers.
From here, care is simple: water during dry spells and watch as your paper transforms into a vibrant wildflower display. Most varieties bloom in 6-8 weeks, but some may take longer. Deadhead spent blooms to encourage more flowers, and enjoy the beauty of your edible message—literally.
Tips & tricks for perfect plantable seed paper
Between us, these little details make all the difference between seed paper that blooms beautifully and something that falls apart before it even sprouts.
Seed Mixture Consistency: In Step 1, when mixing your 2 tablespoons of wildflower seeds with 1 cup of lukewarm water, aim for a cloudy, even suspension rather than clumps. Use a fork to gently break up any stubborn seed clusters—this ensures every inch of your paper gets equal coverage. I find a small whisk works better than stirring with a spoon for achieving that perfect even distribution. The 5-minute rest period is crucial; don't skip it, as this allows the seeds to fully hydrate and activate their germination process.
Paper Selection Wisdom: For Step 2, thick cardstock holds up best to the soaking process and provides a sturdy base for germination. If you're using newsprint or thin paper, test a scrap piece first—these may only need 5-10 seconds of soaking rather than the full 10-15 seconds. The paper should feel damp like a wrung-out sponge, not dripping. Pro tip: Use a lint-free cloth to blot excess moisture from edges while keeping the center damp—this prevents the seed mixture from sliding off during application.
Application Technique: When spreading the seed mixture in Step 3, work in concentric circles from the center outward. This method helps prevent missed spots in intricate designs. For detailed work, I recommend using a fine-tip brush or even a cotton swab for tight corners. Press gently but firmly to embed seeds into the paper fibers—this creates a stronger bond that won't wash away during initial watering. The 24-hour drying time is non-negotiable; any less and your paper won't be durable enough for planting.
Germination Environment: In Step 4, the key to successful germination lies in maintaining consistent moisture without waterlogging. I place a clear plastic dome over the tray during the first 7-10 days to create a mini greenhouse effect—just be sure to remove it daily for 10 minutes to prevent mold. Position your tray in indirect light; direct sunlight can scorch delicate seedlings. The 7-21 day germination window varies by seed mix, but you'll know it's working when you see those first tiny green shoots pushing through the paper.
Pro Tips for Plantable Seed Paper Instructions
- Between us, these little details make all the difference between seed paper that blooms beautifully and something tha...
- Seed Mixture Consistency: In Step 1, when mixing your 2 tablespoons of wildflower seeds with 1 cup of lukewarm water,...
- Paper Selection Wisdom: For Step 2, thick cardstock holds up best to the soaking process and provides a sturdy base f...
Frequently asked questions
Got questions about your plantable seed paper?
You’re not alone! Here are answers to the most common queries—so you can grow those wildflowers with confidence.
How long does it take for seeds to sprout?
Most plantable seed paper sprouts within 7–14 days after planting, depending on sunlight, moisture, and temperature. Keep the soil consistently damp (not soggy) and place it in a sunny spot. Patience is key—some varieties may take up to 3 weeks!
Can I plant seed paper in cold weather?
Seed paper thrives in warm soil (60°F/15°C or warmer). If temperatures drop below 50°F (10°C), germination slows or stops. Wait until spring or use a heat mat to coax early growth. Pro tip: Cover with plastic wrap temporarily to retain warmth!
How often should I water plantable seed paper?
Water lightly but daily for the first 2 weeks—keep the paper moist like a damp sponge. Once sprouts appear, reduce to 2–3 times per week (unless it’s extremely hot/dry). Overwatering can drown seeds, so aim for consistent, gentle hydration.
What if my seed paper doesn’t sprout?
Don’t panic! Check these fixes:
- Light: Ensure 6+ hours of sunlight daily.
- Moisture: Test soil—it should feel like a wrung-out sponge.
- Temperature: Use a thermometer; seeds need warmth.
- Age: Some seeds lose viability after 1–2 years (check packaging).
Can I use seed paper for indoor projects?
Seed paper is perfect for wildflower cards, bookmarks, or wall art. Just plant it outdoors later—it won’t grow indoors (needs sunlight/space). For a permanent display, press it into resin or laminate first, then bury it in soil when ready.
Wrapping up and next steps
Creating plantable seed paper is a simple yet impactful way to blend creativity with sustainability! 🌱 Whether you’re crafting eco-friendly invitations, thank-you cards, or just adding a touch of green to your space, this project turns waste into wildflowers.
The best part? You’re giving back to the planet with every letter you write.
Ready to grow your impact? Grab your materials and start crafting—your garden (and the bees!) will thank you. Plant a seed today, and watch your words bloom tomorrow. 🌸