
Lawn
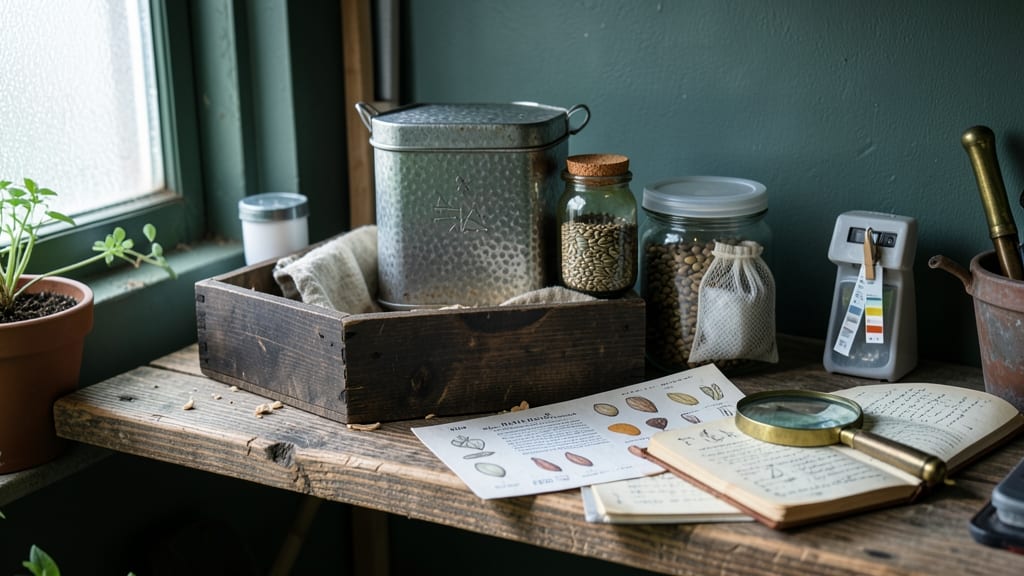
Saving seeds from your garden seed banks isn't just about preserving what you love—it's about guaranteeing next year's harvest starts with viable, healthy seeds. 🌱 I've learned the hard way that drying seeds isn't enough; testing their readiness before storage makes all the difference between a thriving garden and wasted effort.
The secret lies in a simple viability test that takes just minutes but prevents years of frustration.
This method works for heirloom tomatoes, heirloom beans, or any seed you've saved from your garden. All you need is a damp paper towel, a plastic bag, and a warm spot—no fancy equipment required.
The test mimics natural germination conditions, so you'll know exactly which seeds to store and which to compost. Most gardeners skip this step, but it's the difference between a 90% success rate and a gamble with your seed stash.
What you'll end up with is a collection of seeds you can trust—ready to plant confidently next spring. No more wondering if those dried pods will actually grow, no more empty seed packets gathering dust.
The best part? This system works for both short-term storage (a year) and long-term preservation (decades). You'll save money, support biodiversity, and always have access to the varieties you love.
Perfect for gardeners who want to reduce waste, save heirloom varieties, or simply ensure their seed collection stays productive. Once you master this, seed swaps and long-term viability become effortless. Let's get those seeds tested!
📚 In This Guide
- What you need
- Instructions
- Tips and common mistakes
- Wrapping up and next steps
What you need
- ● Seeds to test: Collect a small sample (about 100-200 seeds per variety) from your seed bank. Label each variety clearly with a permanent marker or seed packet.
- ● Paper towels or coffee filters: 2-3 sheets per seed variety (unbleached and seed-safe).
- ● Spray bottle (8-16 oz): Fill with room-temperature water (avoid distilled water—it lacks minerals).
- ● Plastic zip-top bags (quart-sized): 1 per seed variety to create a humid environment.
- ● Permanent marker or labels: To mark seed varieties and test dates.
- ○ Ruler or measuring tape: For consistency in seed spacing (optional but helpful).
- ● Notebook or spreadsheet: To track germination progress over 7-14 days.
- ● Seedling trays or small pots: For transplanting viable seeds after testing.
- ● Grow lights or sunny windowsill: To provide consistent light for early germination checks.
- ● Humidity dome or clear plastic wrap: For seeds needing extra moisture retention.
- ● Digital scale (0.1g precision): To monitor seed weight loss during drying (advanced users).
- ● Desiccant packets (silica gel): For long-term storage after viability testing.
How to test seed viability before storing your home seed bank
Here's the simple, foolproof method I use to ensure only the best seeds make it into long-term storage.
💧 Step 1: Gather Your Test Materials
You'll need four paper towels, two plastic zip-top bags, a spray bottle with water, and a marker for labeling. Fold each paper towel into quarters to create four equal sections. This creates your test environment—simple, sterile, and reusable. I always label the bags with the seed variety and date to avoid confusion later.
Choose four seeds from each variety you want to test. The more seeds you test, the more accurate your results. If you're working with rare heirlooms, test even more to ensure genetic diversity in your seed bank. Place one seed in each folded section of the paper towel, spacing them evenly about 1 inch apart.
🌱 Step 2: Create the Perfect Moisture Environment
Lightly mist the paper towels until they're damp but not soaking wet. You want the towels to hold moisture without dripping water—think of a well-wrung sponge. The goal is to simulate the ideal germination conditions without creating a breeding ground for mold. Place one folded towel with seeds into each of the two zip-top bags.
Seal each bag tightly but leave a tiny gap at the top to allow air circulation. This prevents condensation buildup while maintaining humidity. I like to fold the top edge of the bag over twice to create a small vent—just enough to keep things breathable. Store the bags in a warm, dark place, like on top of your refrigerator.
⏰ Step 3: Monitor for Germination Over 7-10 Days
Check your seeds every 2-3 days for signs of sprouting. Look for tiny white roots emerging first, followed by the seed coat splitting open. Record which seeds sprout and which don't—this gives you a clear percentage of viability. I always take photos of the process because seeing those first sprouts is incredibly satisfying.
If you see mold or fuzzy growth on any of the towels, discard those seeds immediately and restart the test with fresh materials. Mold means your environment was too moist, and those seeds won't be viable for storage anyway. Healthy seeds should show signs of germination within 7-10 days, though some varieties may take longer.
📝 Step 4: Calculate Viability and Prepare for Storage
After 10 days, count how many seeds sprouted in each bag. Divide that number by the total seeds tested (4) to get your viability percentage. For example, if 3 out of 4 seeds sprouted, your viability is 75%. I only store seeds with 80% or higher viability—anything below that gets composted to avoid wasting storage space.
For seeds that passed the test, label them with the variety, date tested, and viability percentage before storing in airtight containers with silica gel packets. This simple pre-storage test saves you from discovering poor-quality seeds years later when you're ready to plant.
Tips & tricks for perfect seed viability testing
Avoid common pitfalls and maximize your results with these essential strategies for testing seed viability.
Precision in Seed Placement: In Step 1, maintaining that 1-inch spacing between seeds is crucial for accurate results. Crowding seeds can lead to uneven moisture distribution, which might cause some to sprout while others fail—skewing your viability percentage. Think of it like planting a small garden: each seed needs its own space to thrive. This spacing also makes it easier to track individual germination progress without confusion.
Moisture Control is Key: When misting your paper towels in Step 2, aim for dampness that resembles a well-wrung sponge. Too much moisture creates mold, while too little prevents germination. I've learned this the hard way after seeing batches ruined by fuzzy mold growth. A good test is to gently squeeze the towel—just a few drops should come out, not a steady stream. This balance is what simulates natural soil conditions without inviting pests or fungi.
Environmental Consistency: The warm, dark place you choose for Step 2 matters more than you might think. I recommend the top of your refrigerator because it's consistently warm (around 75°F) and dark, which mimics the ideal germination environment. Avoid basements or windowsills where temperatures fluctuate—consistency is what ensures reliable results. If your home runs cooler, consider placing the bags near a sunny window during the day and moving them to a warmer spot at night.
Documentation Pays Off: While not explicitly mentioned in the instructions, I can't emphasize enough how valuable it is to document your testing process. Take photos at each check-in (every 2-3 days) and jot down observations. This visual record becomes incredibly useful when comparing different seed varieties or troubleshooting future batches. Plus, seeing those first sprouts emerge is one of the most rewarding parts of the process!
Pro Tips for Garden Seed Banks
- Avoid common pitfalls and maximize your results with these essential strategies for testing seed viability.
- Precision in Seed Placement: In Step 1, maintaining that 1-inch spacing between seeds is crucial for accurate results...
- Moisture Control is Key: When misting your paper towels in Step 2, aim for dampness that resembles a well-wrung spong...
Frequently asked questions
Got questions about testing your garden seeds before drying?
You’re not alone! Here are answers to the most common concerns—so you can save seeds with confidence and avoid common pitfalls.
How do I know if my seeds are still viable before storing them?
Use the paper towel germination test—moisten a paper towel, sandwich seeds between two, seal in a bag, and check for sprouts in 3–7 days. If 80%+ sprout, your seeds are ready for drying and storage. Fewer sprouts? Consider using them sooner or re-testing after drying.
Can I test seeds from my garden right after harvest?
Yes! Test seeds immediately after harvest to gauge viability before drying. Fresh seeds (like tomatoes or beans) often germinate quickly, but some (like onions or garlic) need a stratification period. Always follow the test, then dry seeds properly to extend shelf life.
What if my seeds fail the viability test?
Don’t toss them yet! Failed seeds may still be usable for compost or mulch. For saving, try re-testing after drying (some seeds need time to mature). If viability is below 50%, opt for fresh seeds or hybrid alternatives—open-pollinated seeds often perform better long-term.
How long can I store dried seeds after testing?
With proper drying (5–10% moisture) and storage (cool, dark, airtight), most seeds last 1–5 years:
- Short-term: Lettuce, peas (1–2 years)
- Medium-term: Tomatoes, beans (3–4 years)
- Long-term: Corn, squash (5+ years)
What’s the best alternative if I don’t want to dry seeds myself?
Buy certified organic seeds from reputable banks (e.g., Seed Savers Exchange) or local nurseries. For heirlooms, check seed libraries—many offer free swaps! If storing isn’t an option, grow from fresh seeds annually or invest in a seed dehydrator for consistency.
Wrapping up and next steps
Garden seed banks are your secret weapon for preserving nature’s bounty—but only if you test viability first! 🌱 By following simple steps like the paper towel test, you’ll ensure your seeds stay vibrant and ready for planting.
Whether you’re a seasoned gardener or just starting, this small effort saves time, money, and heartache.
Ready to take the next step? Grab a handful of seeds today and give the test a try—your future garden will thank you! For extra peace of mind, jot down your results and store seeds in airtight containers with silica gel. Happy growing! 🌿