
Lawn
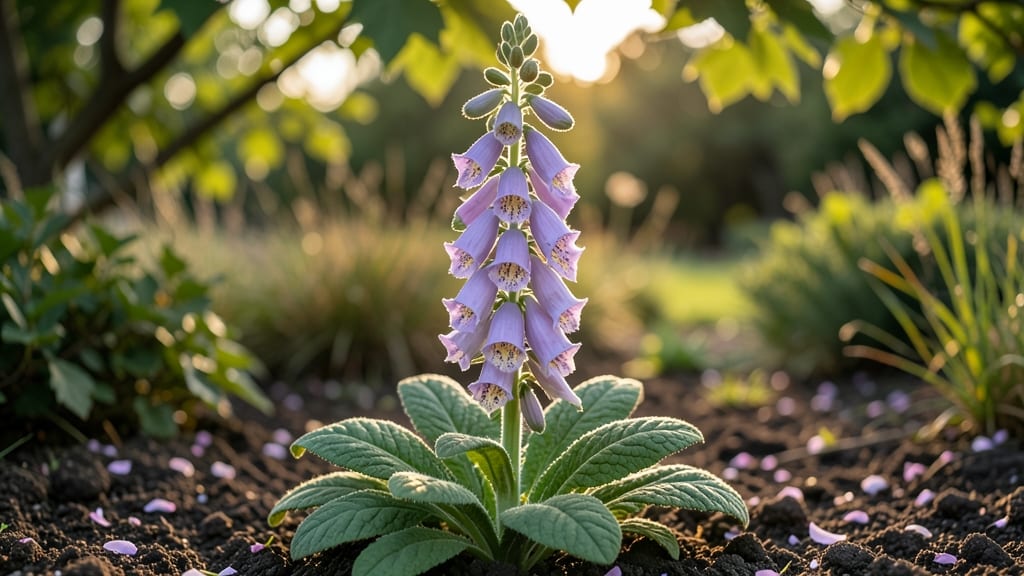
Saving foxglove seed pods turns your garden’s spent blooms into next year’s showstoppers—without buying a single seed. 🌿 I’ve saved seeds from my own foxglove plants for three seasons now, and the trick is all in the timing and technique.
These tall, dramatic flowers produce seed pods that split open at the most inconvenient moments, but with the right approach, you’ll collect viable seeds before they scatter.
The key is watching for pods that turn from green to brown and start cracking open—usually in late summer or early fall. Harvest them before they split completely, then dry them indoors for 1-2 weeks in a paper bag.
This method preserves viability while preventing premature seed loss. Once dry, gently crush the pods to release the tiny, wrinkled seeds, which store well in an envelope for up to a year.
When planting, scatter seeds directly in well-drained soil in early spring or fall, as foxglove seeds need cold stratification to germinate. Expect germination in 2-4 weeks, though some seeds may take longer.
The payoff? A fresh batch of foxglove blooms—taller, healthier, and free—returning to grace your garden next season.
This zero-waste technique works for any foxglove variety, whether you’re growing the classic purple Digitalis purpurea or the striking yellow Digitalis grandiflora. Just be patient: foxglove seeds are slow to germinate, but the results are worth the wait.
Ready to turn trash into treasure? Let’s get those pods dried and stored!
📚 In This Guide
- What you need
- Instructions
- Tips and common mistakes
- Wrapping up and next steps
What you need
- ● Mature foxglove seed pods: 5–10 fully dried pods (brown, split-open, or ready to burst). Pro tip: Harvest them in late summer or early fall when they’re crispy and papery!
- ● Pruning shears or scissors: Sharp, clean pair for snipping stems (sterilize with rubbing alcohol if reusing).
- ● Brown paper bags or envelopes: 2–3 medium-sized bags (labeled with the year and variety if known).
- ○ Pencil or marker: For labeling (optional but highly recommended!).
- ○ Gloves (optional): Thin gardening gloves if you’re sensitive to plant fibers or thorns.
- ● Magnifying glass: Helps spot tiny seeds hidden in fuzzy pods.
- ● Small paintbrush or soft-bristle brush: Gently dislodges seeds stuck to pod walls.
- ● Fine-mesh sieve or sifter: Separates seeds from chaff (great for bulk harvesting!).
- ● Air-dry tray or baking sheet: Lined with parchment paper to spread seeds for final drying.
- ● Patience: Foxglove seeds need 6–8 weeks of cold stratification (more on this later!).
- ● Sunny, dry workspace: Avoid humidity—foxglove seeds hate dampness!
- ● Knowledge of foxglove toxicity: Never handle seeds if you’re pregnant, nursing, or have heart conditions. Wear gloves and wash hands after.
How to extract and save foxglove seeds from mature pods
Here’s the foolproof way to harvest foxglove seeds without waste—using just what nature provides.
🌿 Step 1: Identify and Select Mature Seed Pods
Wait until pods turn brown and papery, then split open naturally—this ensures seeds are fully ripe. Foxglove pods often release seeds on their own, but if they’re still closed, gently twist them open with your fingers. Avoid green or partially brown pods; they won’t yield viable seeds.
Harvest on a dry, sunny morning when humidity is low. This prevents mold and makes the pods easier to handle. Place a clean sheet of newspaper or paper towel beneath the plant to catch falling seeds—foxglove seeds scatter easily, and you’ll want to collect every last one.
✂️ Step 2: Split Open Pods and Remove Seeds
Use a small, sharp knife or your thumbnail to carefully slit open the pods lengthwise. Inside, you’ll find hundreds of tiny, winged seeds attached to a central column. Don’t rush—foxglove pods are delicate, and crushing them releases a sticky sap that can irritate skin.
Gently scrape the seeds off the column with a wooden spoon or clean paintbrush, transferring them to a small bowl or envelope. If seeds stick to the column, leave the pod in a dry, shaded spot for 24 hours—the seeds will detach naturally as they dry.
🪴 Step 3: Dry and Store Seeds Properly
Spread the collected seeds on a paper towel or breathable mesh in a cool, dry place for 7–10 days. Stir them daily to prevent clumping. Foxglove seeds need this drying period to break dormancy—skipping it results in poor germination rates.
Once fully dry, store seeds in a paper envelope or small glass jar with a silica gel packet to absorb moisture. Label it with the variety and harvest date—foxglove seeds remain viable for 2–3 years if stored correctly. Keep them in a dark, cool pantry (never the fridge), as temperature fluctuations reduce longevity.
🌱 Step 4: Stratify Seeds for Best Germination
Foxglove seeds require cold stratification to mimic winter conditions. Place the dried seeds in a sealed plastic bag with slightly damp peat moss or vermiculite, then refrigerate for 4–6 weeks. Check weekly—if mold appears, air-dry the mix and restart stratification.
After stratification, sow seeds in well-draining potting mix at a depth of ¼ inch. Keep the soil moist but not soggy and place the container in a bright, indirect light spot. Germination takes 2–4 weeks—patience is key, as foxglove seeds are slow to sprout.
💧 Step 5: Transplant Seedlings Carefully
Once seedlings develop 2–3 true leaves, transplant them into individual pots with well-draining soil. Foxglove hates root disturbance, so use biodegradable pots or gently slide them out of containers to avoid damaging roots.
Hardening off takes 10–14 days—acclimate seedlings to outdoor conditions by gradually increasing their time outside. Plant outdoors after the last frost, spacing them 12–18 inches apart in partial shade. Mulch around the base to retain moisture and suppress weeds.
Tips & tricks for perfect foxglove seed extraction
These little-known strategies will help you maximize your yield while keeping your process efficient and frustration-free.
Harvest Timing: The 24-hour drying trick in Step 2 works wonders for stubborn seeds, but here's the secret: harvest pods when they're just starting to open naturally—this means you'll get seeds that detach more easily without needing the extra drying time. Look for pods that are mostly brown but still slightly closed; these will yield the most seeds with minimal effort. The dry morning condition is non-negotiable—humidity turns those delicate seeds into a moldy mess.
Seed Collection Technique: I've found that using a small paintbrush with soft bristles (like those for model painting) works better than a wooden spoon for removing seeds from the central column. The bristles gently dislodge seeds without damaging them, and you can control the pressure better. Place the paintbrush directly over a small bowl or envelope to catch every seed—foxglove seeds are so tiny they'll scatter at the slightest breeze. For extra insurance, work over a dark-colored surface to spot any seeds that might fall off your workspace.
Drying Optimization: While the instructions specify 7-10 days for drying, I've successfully reduced this to 5-7 days by placing the seeds on a mesh screen in a well-ventilated area with a small fan circulating air. Just make sure the seeds aren't exposed to direct sunlight, which can cause them to over-dry and lose viability. The key is creating airflow while maintaining that cool, dry environment—the fan helps speed up the process without compromising quality.
Stratification Hack: When it comes to the 4-6 week cold stratification period in Step 4, I've had the best results by using a small plastic container with a tight-fitting lid and drilling a few small holes for airflow. Place a damp paper towel on the bottom, add your seeds, then seal. This creates a mini greenhouse effect that maintains consistent moisture without risking mold. Check weekly by lifting the lid—if condensation forms on the inside, your seeds are getting too much moisture and need to air out for a day.
Pro Tips for Foxglove Seed Pods
- These little-known strategies will help you maximize your yield while keeping your process efficient and frustration-free.
- Look for pods that are mostly brown but still slightly closed; these will yield the most seeds with minimal effort.
- Seed Collection Technique: I've found that using a small paintbrush with soft bristles (like those for model painting) works better than a wooden spoon for removing seeds from the central column.
Frequently asked questions
Got questions about foxglove seed pods?
You’re not alone! Here’s a quick guide to the most common queries—from timing to troubleshooting—so you can master zero-waste seed saving like a pro.
When are foxglove seed pods ready to harvest?
Harvest pods when they turn tan or brown and split open naturally (usually late summer to early fall). If they’re still green, they’re not ready—wait for the iconic "pop" that releases seeds. Pro tip: Collect pods early in the morning when humidity is low to avoid mold.
How do I open foxglove seed pods without damaging them?
Gently squeeze the sides of the dried pod—it should split open like a tiny treasure chest. Avoid cutting or crushing; the pods are delicate! If a pod resists, let it dry further in a paper bag for 24 hours. Warning: Wear gloves—foxglove contains toxic compounds (never handle seeds or plants if pregnant/nursing).
Can I save foxglove seeds for next year?
Yes! Store seeds in a cool, dry place (like a sealed envelope) for up to 2 years. Foxglove seeds have low viability, so sow fresh seeds immediately for the best germination (or stratify them in the fridge for 4–6 weeks). Bonus: Label your packets—foxglove varieties vary wildly!
What if my foxglove pods won’t split open?
Pods may refuse to open if they’re too moist or underripe. Try these fixes:
- Dry them faster: Spread pods on a mesh screen in a warm, dry spot (out of direct sun).
- Patience: Some heirloom varieties take longer—wait until pods are crispy to the touch.
- DIY hack: Place pods in a paper bag with silica gel packets (from shoe boxes) to absorb moisture.
Are there non-toxic alternatives to foxglove for seed saving?
Try these safe, easy-to-harvest plants for zero-waste seed saving:
Plant
Why It’s Great
Sunflower
Pods split dramatically, seeds are edible, and they’re beginner-friendly.
Sweet Pea
Dried pods open effortlessly, and seeds store well for years.
Calendula
Bright, cheerful, and non-toxic—perfect for pollinator gardens.
Wrapping up and next steps
Foxglove seed pods offer a zero-waste, rewarding way to save seeds and embrace nature’s beauty—with minimal effort! Their unique design makes them perfect for gardeners looking to harvest, dry, and store seeds sustainably.
Whether you’re a beginner or a seasoned gardener, this method is a fun, eco-friendly project that connects you to the cycle of growth.
Ready to give it a try? Grab a pair of gloves, find a few pods, and start your seed-saving adventure today! Your future garden—and the planet—will thank you. 🌱✨