
Lawn
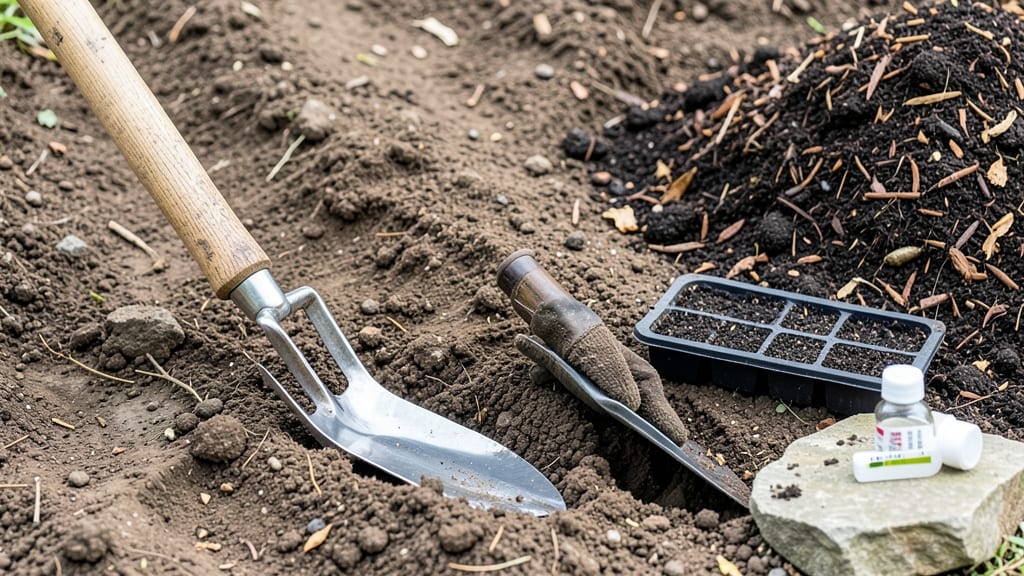
Preparing your seed bed right means the difference between seedlings popping up in days and weeks of waiting—or worse, nothing at all. 🌱 I’ve seen gardeners rush this step and end up with patchy germination or stunted plants, but when done properly, your soil becomes a cozy, nutrient-rich home for roots to spread.
The key is loosening the soil just enough to break up compaction without turning it to dust, and timing it so the bed stays workable until planting day.
Start by clearing weeds, rocks, and debris—this isn’t just about looks, it’s about giving seeds room to breathe. Then, use a broadfork or tiller to loosen the top 6-8 inches of soil, but stop before you pulverize it.
For clay soil, mix in compost to improve drainage; for sandy soil, add organic matter to hold moisture. Level the bed with a rake, and you’re ready for seeds to find their perfect spot.
What you’ll end up with is a seed bed so inviting that germination happens faster and plants grow stronger from day one. The roots will spread easily, and you’ll avoid the heartbreak of seeds rotting in soggy soil or struggling in hardpan.
Think of it as setting the foundation for a thriving garden—one that looks after itself once the seeds take hold.
Works for both in-ground beds and containers, and the same principles apply whether you’re sowing tiny lettuce seeds or larger beans. The only real mistake is rushing—take your time, and your plants will thank you for it. Ready to get started?
📚 In This Guide
- What you need
- Instructions
- Tips and common mistakes
- Wrapping up and next steps
What you need
- ● Garden fork or broadfork: 1-2 (for deep soil aeration, 18-24 inches tines recommended).
- ● Rake: 1 bow rake (for leveling) + 1 leaf rake (for debris removal).
- ● Garden hoe: 1 (for weeding and breaking clods).
- ● Shovel: 1 (for digging or moving soil).
- ● Wheelbarrow or bucket: 1 (for hauling compost/soil amendments, minimum 3 cubic feet capacity).
- ○ Soil test kit: 1 (optional but highly recommended—check pH and nutrient levels).
- ● Compost or organic matter: 2-3 inches spread evenly (e.g., aged manure, peat moss, or coconut coir).
- ● Seedbed fertilizer: Balanced (10-10-10) or slow-release (apply per package instructions).
- ○ Mulch (optional): Straw or shredded leaves (¼ inch layer to retain moisture).
- ● Weather: Choose a cloudy day or early morning to avoid drying out the soil.
- ● Soil moisture: Lightly damp (like a wrung-out sponge)—water if dry before starting.
- ● Work area: Clear debris (rocks, sticks, weeds) from a 4’x4’ to 6’x6’ section (adjust for seed quantity).
- ○ Safety gear (optional but smart): Gloves, knee pads, and sunglasses.
Step-by-Step guide to preparing a seed bed for healthy plant growth
Here's how I transform hard, compacted soil into a fluffy, root-friendly bed—guaranteed to give your seedlings the start they deserve.
🌱 Step 1: Clear and Mark the Area
Start by removing all weeds, grass, and debris from your chosen 4-foot square area. I like to use a garden rake to pull up weeds by their roots—anything left behind will compete with your seedlings for nutrients. Once the area is clear, outline the bed with a garden hose or string to keep your work contained.
This step is where most people rush, but taking time here prevents headaches later. You'll see the difference immediately when your soil is ready—no more fighting stubborn weeds or patchy growth. If your soil is particularly rocky, use a garden fork to break up large stones before proceeding.
✂️ Step 2: Loosen the Soil to a Depth of 6-8 Inches
Use a broadfork or digging fork to break up the soil to your target depth. I work the fork in vertically, then rock it back and forth to loosen the soil without turning it over completely. The goal is to create a network of air pockets—this helps roots penetrate easily and prevents compaction.
Stop when the soil feels like crumbly cake batter, not dense clay. You'll know you've done it right when the fork slides in easily and the soil holds its shape when you squeeze a handful. Avoid walking on the area once loosened—your weight can undo all the work.
💧 Step 3: Add Organic Matter and Mix Thoroughly
Spread a 2-inch layer of compost or well-rotted manure evenly over the loosened soil. This adds nutrients and improves soil structure. I like to work it in with my hands or a garden fork, mixing it down until the top 6 inches of soil is uniformly enriched. Avoid heavy machinery here—it can compact the soil again.
This is the moment that matters: your soil should now look darker and feel lighter. If it still feels heavy or sticky, add another thin layer of compost and mix again. The goal is to create a balance—fertile enough to feed plants but loose enough for roots to spread.
☀️ Step 4: Level and Prepare for Planting
Use a rake to level the surface, creating a smooth, even bed. I like to drag the rake in straight lines, then cross them at right angles to catch any high spots. Once level, gently press the surface with your hands or a board to remove air pockets—this helps seeds make good contact with the soil.
Your seed bed is now ready for planting. You'll see the difference immediately when you sow seeds—they'll germinate faster and grow stronger because the soil is perfectly prepared. Keep the area moist but not soggy until you're ready to plant, and avoid walking on it to prevent compaction.
⏰ Step 5: Maintain Moisture Until Planting
Water the prepared bed gently but thoroughly to settle the soil and provide moisture for any seeds you'll plant later. I use a sprinkler or hose with a fine nozzle to avoid disturbing the surface. Aim for soil that's moist to a depth of 2-3 inches—this ensures your seedlings have plenty of water when they first sprout.
Here's the thing—don't let the bed dry out completely before planting. If it does, you'll need to rewet it thoroughly, which can disrupt the soil structure. A simple check is to squeeze a handful of soil: if it holds together but doesn't drip water, you're good to go.
Tips & tricks for perfect seed bed preparation
Real talk: The details in these steps make the difference between seedlings that struggle and ones that thrive. Here's what nobody tells you about creating the ideal growing environment.
Weed Removal Secret: Don't just pull weeds—grasp them at the base and wiggle them free to remove the entire root system. I learned this the hard way after watching weeds regrow from tiny root fragments. For stubborn weeds, try soaking the area with vinegar a day before clearing (just avoid desirable plants!). This softens the roots and makes removal easier.
The Right Depth Matters: When loosening soil in Step 2, aim for that 6-8 inch depth consistently across your entire bed. I use a garden tape measure to check depth in multiple spots—uneven loosening creates weak zones where roots can't penetrate. For rocky soil, focus on creating channels rather than trying to break every stone; roots will find their way through natural pathways.
Compost Layer Technique: That 2-inch compost layer in Step 3 should be spread evenly and mixed into the top 6 inches of soil. Here's my trick: I sift the compost through a mesh bag to remove large chunks, then sprinkle it like snow over the bed. This ensures even distribution without creating compost pockets that can mat down. For clay-heavy soil, mix in a bit of coarse sand (like play sand) to improve drainage while adding the compost.
Leveling Pro Tip: After raking in Step 4, do this final check: place a straight board across the bed. If there's any gap between the board and soil, you still have high spots to rake down. This ensures seeds make equal contact with the soil, preventing uneven germination. I also like to lightly tamp the surface with a board after leveling—just enough to remove air pockets without compacting the soil.
Pro Tips for Prepare Seed Bed
- Real talk: The details in these steps make the difference between seedlings that struggle and ones that thrive. Here'...
- Weed Removal Secret: Don't just pull weeds—grasp them at the base and wiggle them free to remove the entire root syst...
- The Right Depth Matters: When loosening soil in Step 2, aim for that 6-8 inch depth consistently across your entire b...
Frequently asked questions
What’s the best time of year to prepare a seed bed?
Timing depends on your climate and crops, but spring and early fall are ideal for most regions. In warm climates, winter prep (with mulch) works too. Avoid preparing beds in extreme heat or during heavy rain—soil compacts easily then! Test soil moisture before working: it should crumble like a damp sponge.
Do I need special tools, or can I use basic gardening supplies?
You don’t need fancy gear! A sturdy garden fork, hoe, or tiller works for breaking up soil. Add a rake for smoothing and a broadfork (or sturdy shovel) for deep loosening. Skip the tiller if your soil is loose—over-tilling can damage structure. Hand tools like a transplanter help for precision in small beds.
How deep should I loosen the soil for seeds vs. transplants?
For direct-seeded crops (like carrots or lettuce), loosen soil 6–8 inches deep—roots need room to grow. For transplants (tomatoes, peppers), dig 12–18 inches deep to reduce shock. Use a broadfork for deep work without fluffing the top layer too much. Pro tip: Test depth with a stick!
What if my soil is rocky or full of debris—can I still prepare a seed bed?
Rocks: Remove large ones (bigger than a fist) or bury them deep. Debris: Rake out sticks, roots, or old plant matter. For heavy clay or sand, amend with compost or aged manure (2–3 inches mixed in). If rocks are too dense, consider raised beds or container gardening for delicate plants.
How often should I water after preparing the seed bed?
Keep soil consistently moist but not soggy—like a wrung-out sponge. Water lightly daily (or deeply every 2–3 days) until seeds sprout. After sowing, use a fine mist setting on your hose to avoid disturbing seeds. Mulch lightly with straw to retain moisture and deter weeds!
Wrapping up and next steps
A well-prepared seed bed is the foundation of a thriving lawn—loose, nutrient-rich soil ensures strong roots, faster germination, and a lush green carpet. 🌱 By following these steps, you’ve set the stage for success, whether you’re a seasoned gardener or a beginner eager to see results.
Now, take that first shovel and watch your hard work bloom!
🚀 Your Next Step:
- Plant with confidence! Now that your seed bed is ready, choose your grass seed or plants and get growing.
- Monitor & maintain: Keep soil moist (but not soggy) and protect your new bed from foot traffic for a few weeks.
- Celebrate progress! Check back in a few weeks to see those first sprouts—you’re on your way to a showstopping lawn.