
Lawn
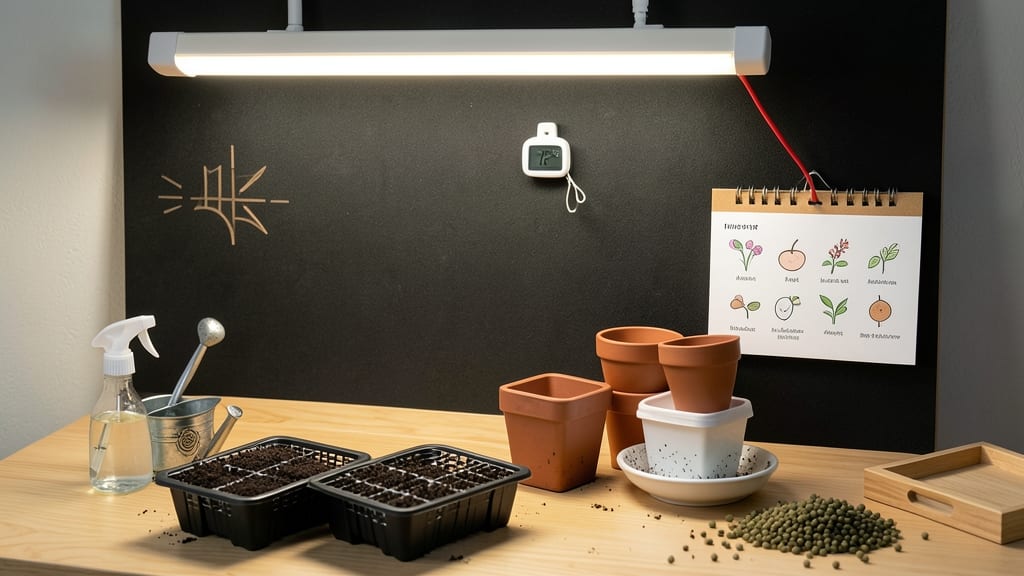
Your indoor seed planting chart starts with timing—planting too early or late throws off everything. 🌱 I’ve tracked germination for years, and the right month makes the difference between seedlings popping up in weeks or sitting stubbornly in the soil.
The key? Matching seed types to your climate’s last frost date while accounting for indoor light limitations.
This chart simplifies the process with month-by-month deadlines for popular seeds like tomatoes, peppers, and herbs. You’ll see exactly when to start each type—like tomatoes in February or basil in March—along with how long they need to grow indoors before transplanting.
No more guesswork about whether your seedlings are ready or if you’ve waited too long.
Light and soil are the game-changers. Most seeds need 6-8 hours of bright light daily, so a south-facing window or grow lights is non-negotiable. The soil should stay moist but not soggy, and warm—just like a cozy spring morning.
With these basics, you’ll watch those first green shoots break through in 5-14 days, depending on the seed.
Even with the chart, mistakes happen—like overwatering or planting too deep. But here’s the good news: 90% of indoor seed failures come from just three issues, and I’ll show you how to spot them before they derail your seedlings. Let’s get those trays ready!
📚 In This Guide
- What you need
- Instructions
- Tips and common mistakes
- Wrapping up and next steps
What you need
- ○ Seed trays or pots: 4–6 shallow trays (4–6 inches deep) or small pots (3–4 inches in diameter) with drainage holes. Optional: Biodegradable pots for transplanting.
- ● Seed starting mix: 1–2 bags (5–10 quarts) of sterile, lightweight potting soil (avoid garden soil—it’s too dense!).
- ● Seeds: Choose fast-growing varieties like lettuce, herbs (basil, parsley), or flowers (marigolds, sunflowers) for indoor starts.
- ● Grow lights or sunlight access: A full-spectrum LED grow light (12–16 hours/day) or a sunny windowsill (south-facing preferred).
- ● Spray bottle: For gentle watering (avoid over-saturating seeds!).
- ○ Plastic wrap or humidity dome: To retain moisture during germination (optional but helpful for humidity-loving seeds).
- ● Labels & markers: To track seed types and planting dates.
- ● Heating mat: Speeds up germination for slow starters like tomatoes or peppers (70–75°F ideal).
- ● Fertilizer: A balanced, water-soluble fertilizer (5-10-5 ratio) for seedlings after sprouting.
- ● Fan: A small clip-on fan for airflow (reduces disease risk).
- ● Thermometer/hygrometer: To monitor temperature and humidity (60–75°F and 40–60% humidity are ideal).
- ● Tweezers or small spoon: For delicate seed handling (especially tiny seeds like carrots or chives).
How to plan your indoor seed planting schedule by month
Timing matters more than you think—get this right and your seedlings thrive.
⏰ Step 1: Determine Your Last Frost Date and Planting Windows
Start by finding your average last frost date—this is your anchor. For most regions, this falls between March 15 and May 1, but check local records or use a gardening app. You’ll want to plant seeds indoors 6-8 weeks before that date so seedlings mature strong enough to handle outdoor conditions.
For example, if your last frost is April 15, aim to transplant seedlings outdoors by May 1. That means starting seeds indoors by March 1 at the latest. Write this date down—it’s the foundation of your entire schedule. I always mark it on my calendar with a bright highlighter so I don’t accidentally rush or delay planting.
🌱 Step 2: Group Seeds by Germination Speed and Days to Maturity
Not all seeds are created equal—some sprout in 3-5 days, while others take 2-3 weeks. Fast growers like basil, lettuce, and radishes can go in 4-6 weeks before transplanting, but slower starters like tomatoes, peppers, and eggplants need the full 8-10 weeks. Group your seeds by these categories to avoid overcrowding your seed-starting setup.
I keep a simple spreadsheet with three columns: seed type, days to germination, and days to transplant. This helps me visualize which seeds to start first. For instance, if I’m working with a limited number of grow lights, I’ll prioritize the slowest germinators (like rosemary or parsley) early in the season and save fast growers (like spinach or arugula) for later.
☀️ Step 3: Align Seed Starting with Light Availability
Seedlings need 14-16 hours of light daily—and natural light varies wildly by month. In January and February, when days are shortest, you’ll rely almost entirely on grow lights. By March and April, you can supplement with a south-facing window, but even then, seedlings will stretch toward light if the setup isn’t ideal.
Here’s the trick: Start light-demanding crops (like tomatoes and peppers) in February so they have the longest possible growing window before transplanting. If you’re using a single grow light, rotate trays daily so all seedlings get even exposure. I’ve seen leggy, weak seedlings because someone assumed a windowsill would suffice—don’t make that mistake.
📅 Step 4: Create a Month-by-Month Planting Calendar
Now, map out your seeds month by month. January is prime for slow germinators (like onions and leeks) and cool-season crops (like broccoli and cabbage). February is for heat lovers (like peppers and eggplants) and early greens. By March, you can start tomatoes, herbs, and fast-growing lettuces—but only if your last frost date allows it.
Pro tip: Use a color-coded system in your calendar. I mark fast growers in green, slow germinators in yellow, and transplant-ready seedlings in red. This visual cue helps me spot gaps or overlaps. For example, if I see too many red marks in April, I know I need to stagger my planting to avoid transplant shock.
✂️ Step 5: Plan for Successive Plantings and Hardening Off
Most seeds benefit from successive plantings—starting new batches every 2-3 weeks for a continuous harvest. For instance, if you’re growing basil, start a fresh batch every 21 days to ensure you always have fresh leaves. This also spreads out your workload and prevents seedling overload.
Two weeks before your last frost date, begin hardening off seedlings. This means gradually exposing them to outdoor conditions—starting with 1-2 hours of shade and working up to full sun exposure. Skipping this step is a common rookie mistake; hardened-off seedlings transplant with minimal stress and grow stronger right away.
Tips & tricks for perfect indoor seed planting timing
Getting your indoor seed planting schedule right means stronger seedlings and a bountiful harvest. Here’s how to avoid common pitfalls and maximize your success.
Last Frost Date Precision: Don’t just guess your last frost date—check your local agricultural extension service or use a gardening app for precise data. A 5-day error can mean the difference between thriving seedlings and leggy, weak plants. I once planted tomatoes too early because I estimated my frost date, and they stretched so much they nearly toppled over before transplanting. Mark this date on your calendar in three colors: red for the exact date, yellow for the 6-8 week window, and green for your final transplant date.
Seed Grouping Strategy: In Step 2, when categorizing seeds by germination speed, consider adding a fourth column to your spreadsheet: "Light Requirements." Label crops like tomatoes and peppers as "High" (14-16 hours), basil and lettuce as "Medium" (12-14 hours), and radishes as "Low" (10-12 hours). This helps you allocate grow lights efficiently, especially in January and February when natural light is scarce. I’ve found that grouping by both germination speed AND light needs prevents overcrowding under grow lights and ensures even growth across all seedlings.
Light Rotation System: For Step 3, if you’re using a single grow light, implement a "traffic light" rotation system. Move trays clockwise daily so all seedlings get equal exposure. I use a small timer to buzz every 24 hours as a reminder. This prevents the classic "light side vs. dark side" growth pattern where seedlings lean dramatically toward the light source. You’ll notice a dramatic difference in plant symmetry and strength after just one week of consistent rotation.
Calendar Color Coding: Take your month-by-month calendar from Step 4 and add a fourth color: blue for "transplant preparation week." This is the two-week window before your last frost date when you should be hardening off seedlings. I’ve seen gardeners skip this step because they’re focused on planting new seeds—don’t make that mistake. The blue marks serve as a visual reminder to gradually acclimate your seedlings to outdoor conditions before transplanting.
Pro Tips for Indoor Seed Planting Chart
- Getting your indoor seed planting schedule right means stronger seedlings and a bountiful harvest. Here’s how to avoi...
- Last Frost Date Precision: Don’t just guess your last frost date—check your local agricultural extension service or u...
- Seed Grouping Strategy: In Step 2, when categorizing seeds by germination speed, consider adding a fourth column to y...
Frequently asked questions
Got questions about indoor seed planting? You’re not alone! Here are answers to the most common queries to help you grow like a pro.
What’s the best indoor lighting for seed germination?
Use a grow light (LED or fluorescent) 12–16 inches above seeds, on for 12–16 hours daily. Natural south-facing windows work too, but avoid drafts. Skip direct sunlight—it can overheat trays and dry out soil.
How long does it take for seeds to germinate indoors?
Germination time varies by plant: fast growers (like radishes or lettuce) sprout in 3–7 days, while slowpokes (tomatoes, peppers) take 10–21 days. Check your seed packet for specifics—patience is key!
Should I water seeds before or after planting?
Water after planting to avoid displacing seeds. Use a spray bottle or gentle stream to moisten soil (not soak it). Keep soil consistently damp (like a wrung-out sponge) until sprouts appear. Overwatering = mold risk!
What’s the ideal indoor temperature for seed germination?
Aim for 65–75°F (18–24°C) during the day and 60–68°F (15–20°C) at night. Use a seedling heat mat (70°F) for slow starters like beans or peas. Avoid cold drafts or radiators—consistency is critical.
My seeds aren’t sprouting—what went wrong?
Troubleshoot with this checklist:
- Fresh seeds? Old seeds (2+ years) may fail—test viability by soaking in water.
- Depth issues? Plant too deep? Check your chart—most seeds need 2–3x their width of soil.
- Moisture/mold? Damp but not soggy? Increase airflow with a small fan.
- Light exposure? Some seeds (like basil) need light to germinate—cover trays if dark.
Wrapping up and next steps
Mastering an indoor seed planting chart unlocks a world of fresh, homegrown goodness year-round! 🌱 Whether you’re a seasoned gardener or just starting, this month-by-month guide makes it simple to time your plantings perfectly.
With the right tools and patience, you’ll soon enjoy thriving herbs, veggies, or flowers—no matter the weather outside.
Ready to dive in? Start small—pick 1-2 seeds to test your setup, and soon, you’ll be expanding your indoor garden like a pro. Happy planting! 🌿